

Unity and C# Basics
Editor
Introduction
So, you have decided to learn to make games. Great, now what? Well, you need a game engine. You could build one on your own but there are a lot of great options out there, Unity, Gadot, Unreal Engine, and GameMaker Studio to name a few. Selecting a game engine will dictate what programming language you are going to use to make games. Unity uses C# (c sharp), Unreal uses C++, and Gadot has GDScript and VisualScript although it does support C# and C++.
While it is always great to check out all the options, if you are just learning to program it will be in your best interest to pick an engine and stick with it a while to get used to how programming languages are used to build games. Once you have become familiar with a language such as C# it becomes much easier to pick up other languages such as C++ or Java due to a lot of the fundamentals being universally applicable. I myself learned HTML, CSS, and JavaScript through freeCodeCamp and started making games in the browser before learning python/PowerShell to automate workflows, Java for creating web and android apps, and C# for creating games in Unity. Each time I try out a new language I am able to pick it up faster than the previous language due to those universal properties.
This is a new series in which we will aim to cover Unity and C# basics. This article will cover the basics of the Unity editor and how to get your first project started as well as how to navigate around the editor. By the end of this article, you should be familiar with:
- How to install the Unity editor from the Unity Hub
- Setup the Editor for the environment you wish to develop for
- Create folders and set up a project asset structure
- Create GameObjects and nested GameObjects
- Import packages
- Access the Unity Asset Store
- Move the camera and rotate game objects
- Set up the game view
Getting Started
Setting up Unity for your first project
Open up the Unity Hub and make sure you are signed in. If you need help getting this installed or selecting an account type, check out our article on installing unity
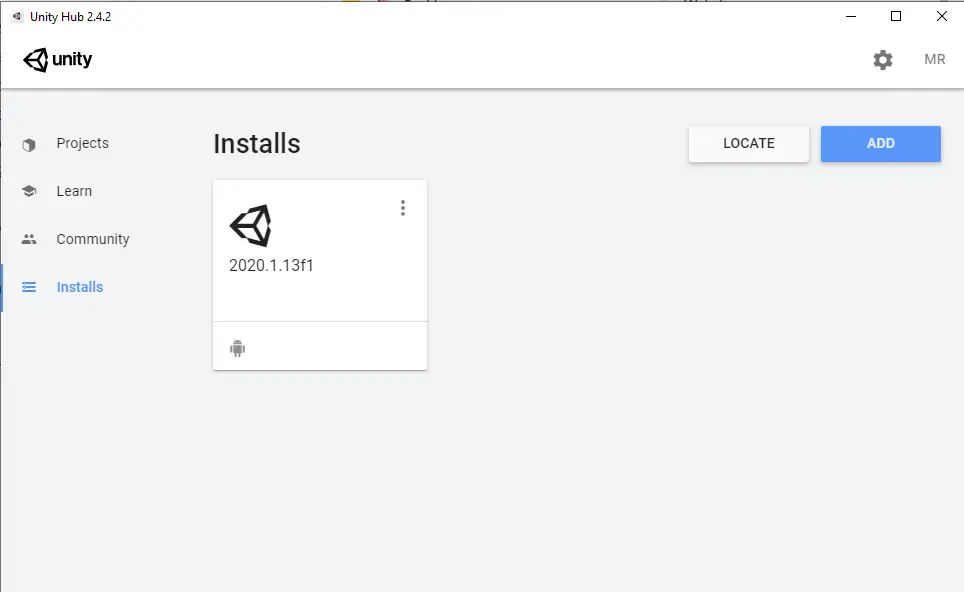
Verify that you have installed the Unity Editor, if not you can install it by selecting the add button in the top right.
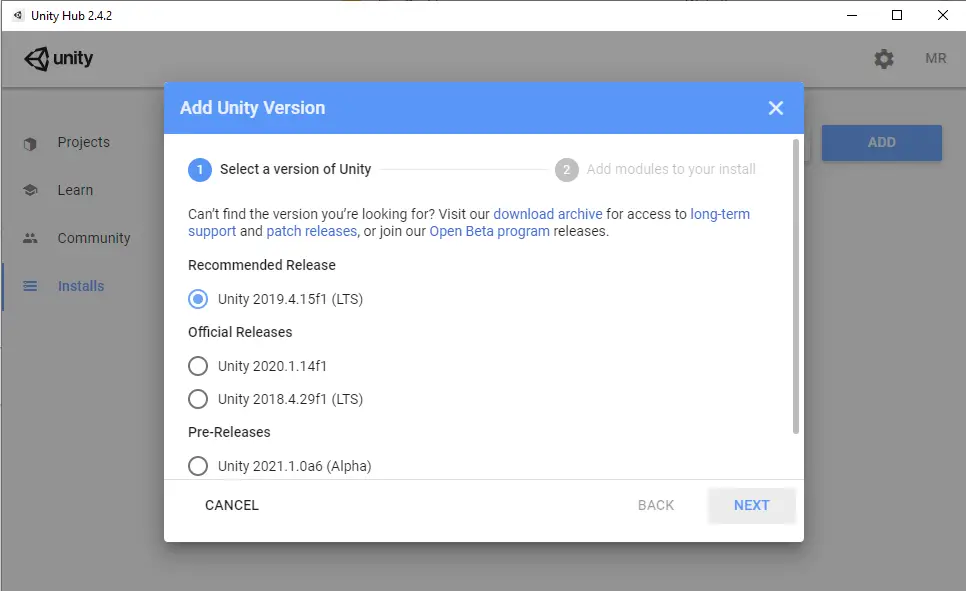
This will open up a prompt where you can select the version of Unity you would like to install.
The recommended release is normally the latest LTS version of Unity. LTS stands for long term support. This a version that will not fundamentally change core operations and features going forward, aka stable version, and Unity has committed to support this version with bug fixes and patches for an extended period of time. According to Unity’s site they “will be committed to supporting 2019.4 LTS releases with biweekly updates until mid-2021, after which updates will be monthly until May 2022 (two years after the initial release date). These updates will only cover usability fixes aimed at improving the stability of the product to enable users to ship their projects.
Unity 2018.4 is now the legacy LTS; it will be updated monthly until it reaches the end of its support cycle in spring 2021.”
There are also the official releases which are older LTS versions and the latest version. Official versions that do not have the LTS label are production ready but run the risk of having features that are not fully released or may be removed in future versions.
Pre-release versions are versions that allow you to try out all the latest features, but the editor may still have stability issues such as bugs and/or crashes. Unity may also offer bug reporting rewards during periods where there are new betas. Such as offering entries to win an Oculus Quest 2 for reporting verified bugs for the 2020.2 beta.
.
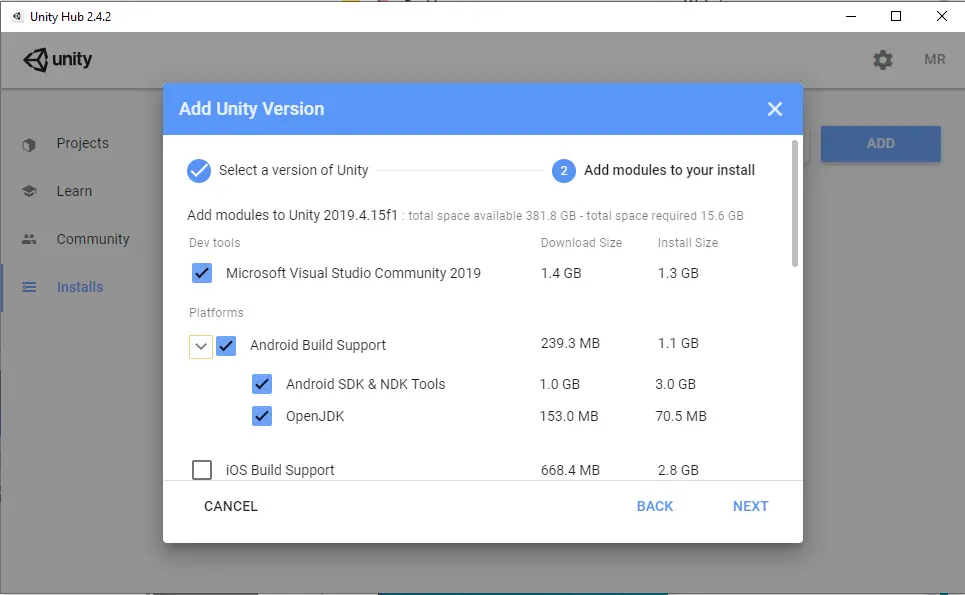
When you select your version of the editor make sure to select the platforms you would like to build for. For instance, here we select Android build support and the optional packages for the SDK, NDK, and OpenJDK which is super convenient when compared to having to gather all of these things separately.
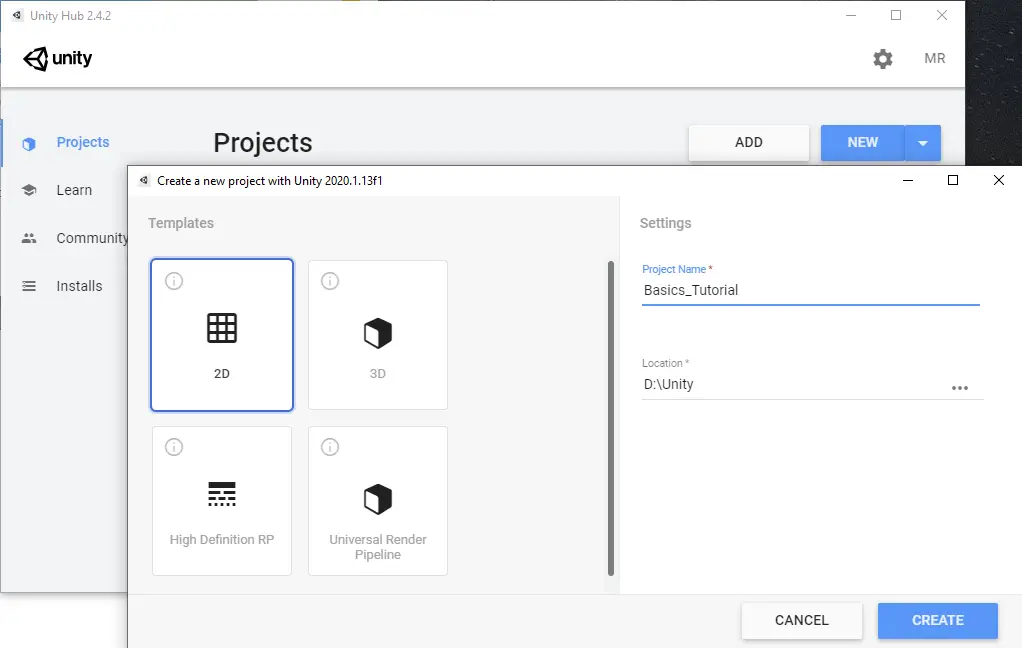
Next select a template for your game. Do not worry if your project evolves and you decided you want your 2D project to be 3D or vice versa. These are just templates and you can change afterwards. They just add another layer of convenience to getting a project started.
Pick a project name and a location to store your files. I have a smaller SSD for my C drive, so I prefer to store my files on the D drive since these do not need the speed performance of an SSD.

Once you hit create, you will see some things load and configure and you will be greeted by the default Unity Editor.
Creating Folders

The first thing I like to do is to create folders for the data I know I am going to need. The bottom left shows the project tab. In this tab you can see all of your assets and packages that have been imported into the project.
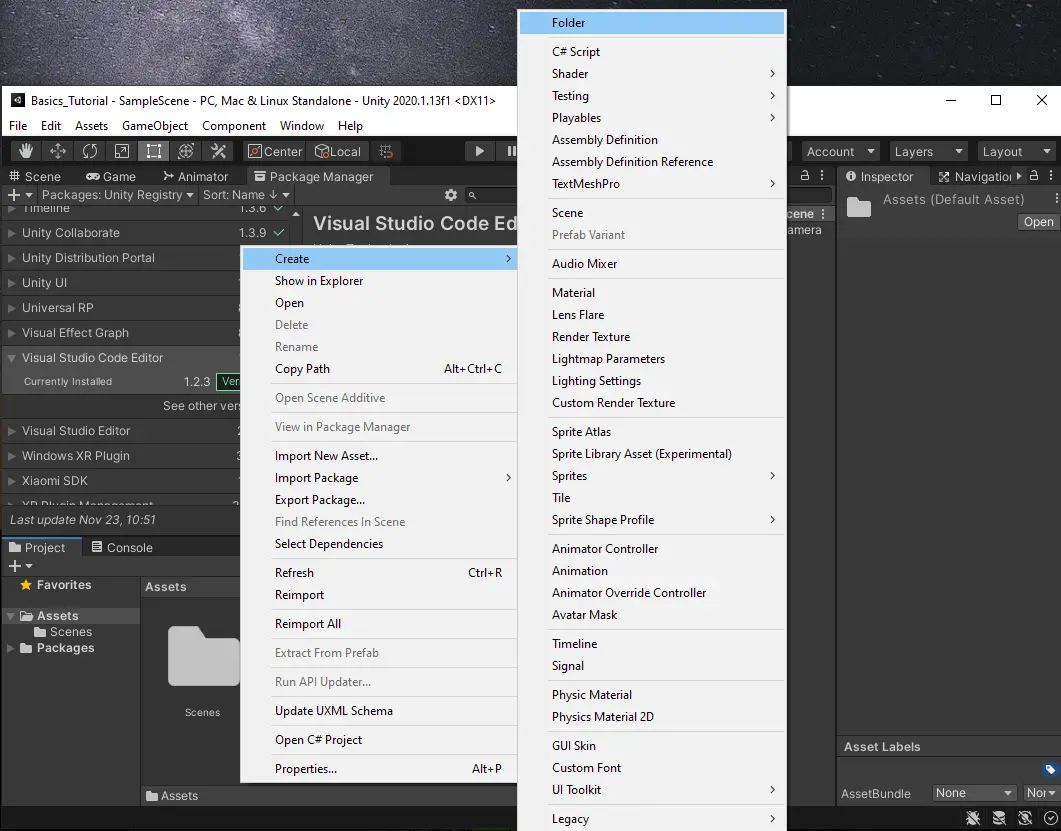
Right click and select Create > Folder. Do this as many times as you need. In addition to the default Scenes folder, I like to create a folder for Prefabs, Scripts, and Sprites.
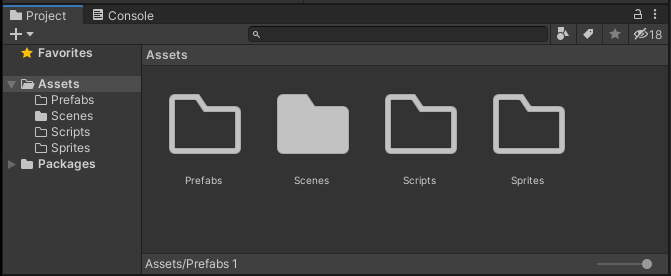
In Unity 2020.1.13f1 an empty folder will show up as a folder outline and a folder containing data shows as filled in.
Creating Assets
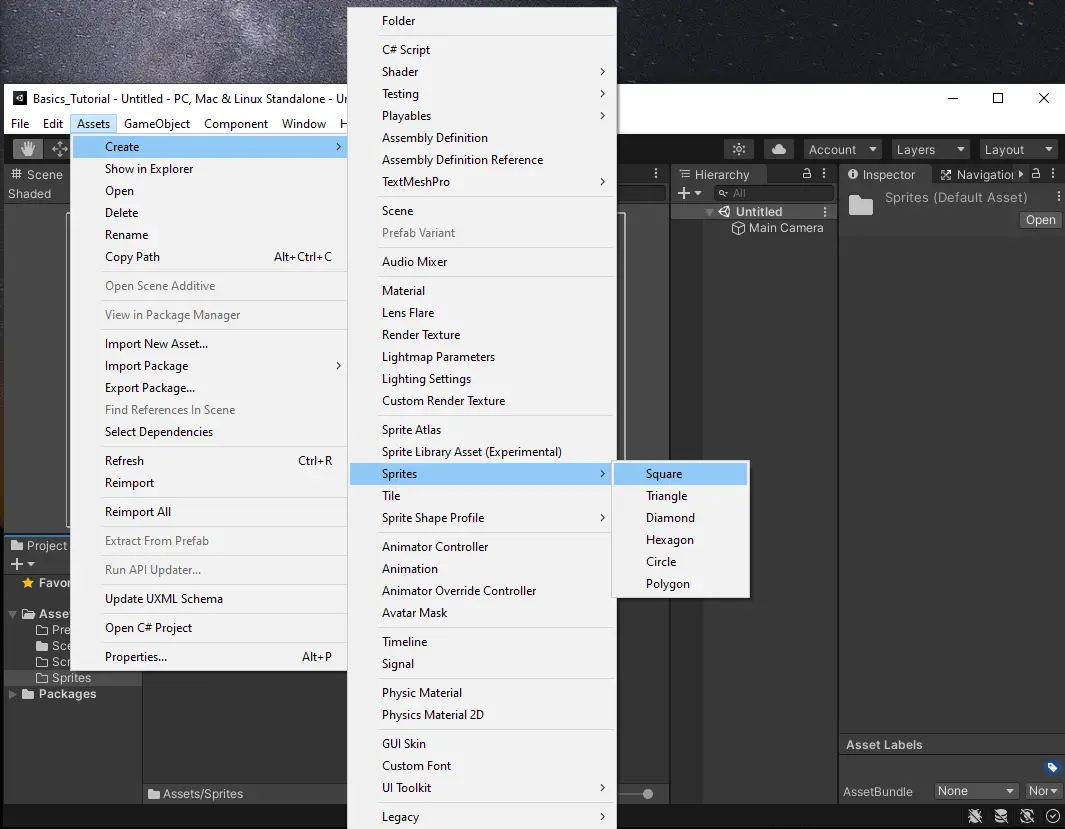
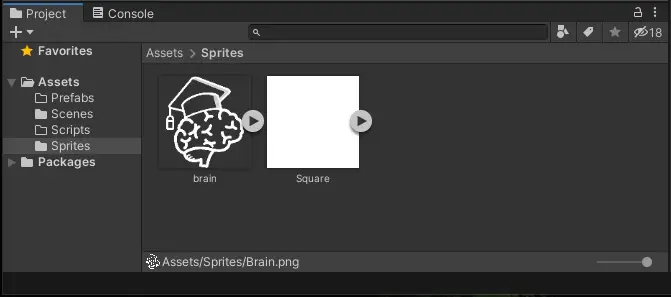
We have a few ways to create assets. If we navigate into our newly created Sprites folder and select Assets > Create > Sprites > Square from the menu bar, we can create a quick sprite to use in our project.
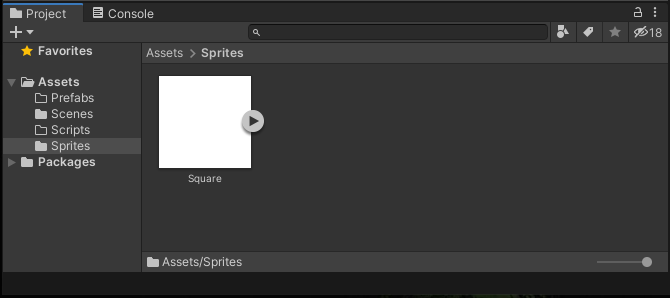
This is great for creating quick prototypes where a square can be a stand in for your main character. You can also see that there are quite a few options for creating things, such as materials and tiles, but they are outside the scope of this post.

We can also import assets from outside the Unity Editor. Here we have a png of our brain character from Jump the Zombie. To import this into our sprites folder we simply drag and drop it into the folder.
Creating GameObjects
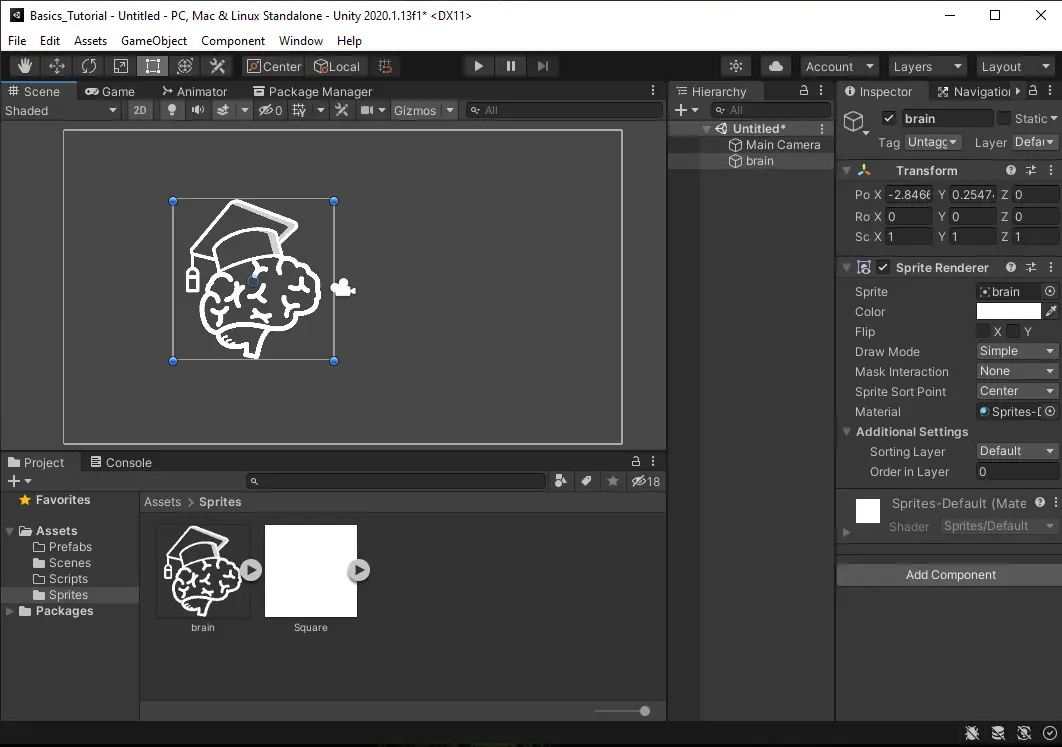
A GameObject is an object in the game. Right now, we have assets, but they are not a part of our game just yet. We can turn our two sprites into GameObjects by either dragging them into the scene or by dragging them into the hierarchy view.
Hierarchy
The hierarchy window shows the objects that are currently in the scene. This is different from the project window which shows the data that is in our whole project.
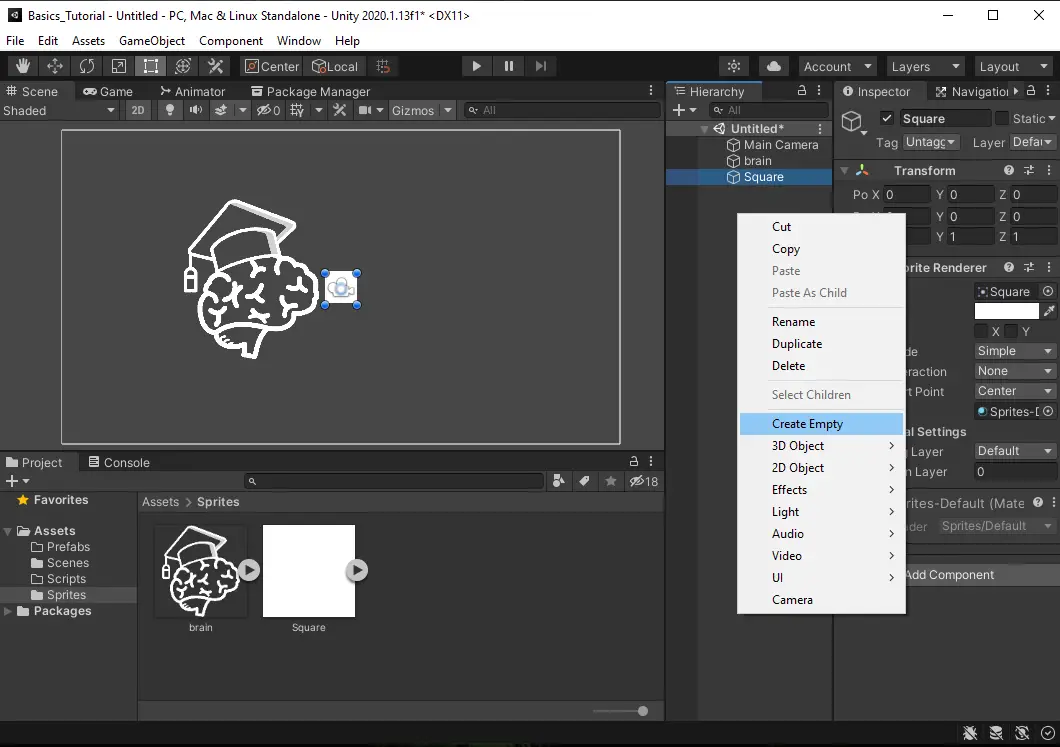
Like the project view we can create a folder structure or hierarchy by nesting objects under others. Let us say we want to keep all of our characters that are in the scene together. We can do that by right clicking in the hierarchy view and selecting Create Empty.
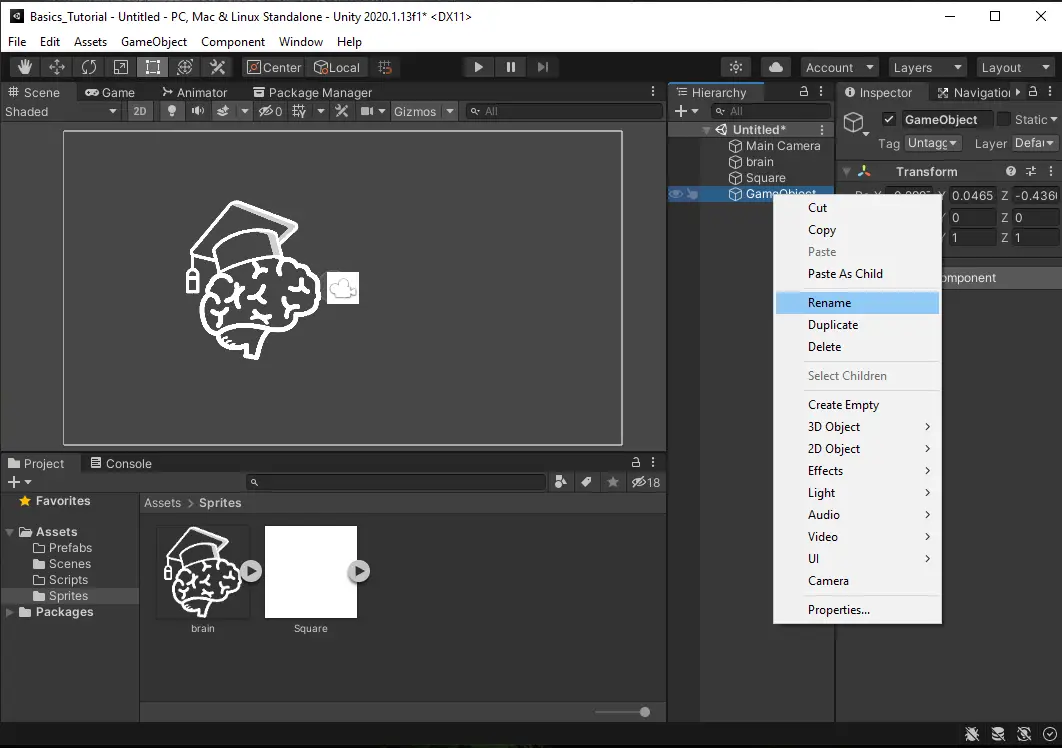
This will create a GameObject called GameObject. We can rename this to something more useful like Characters.
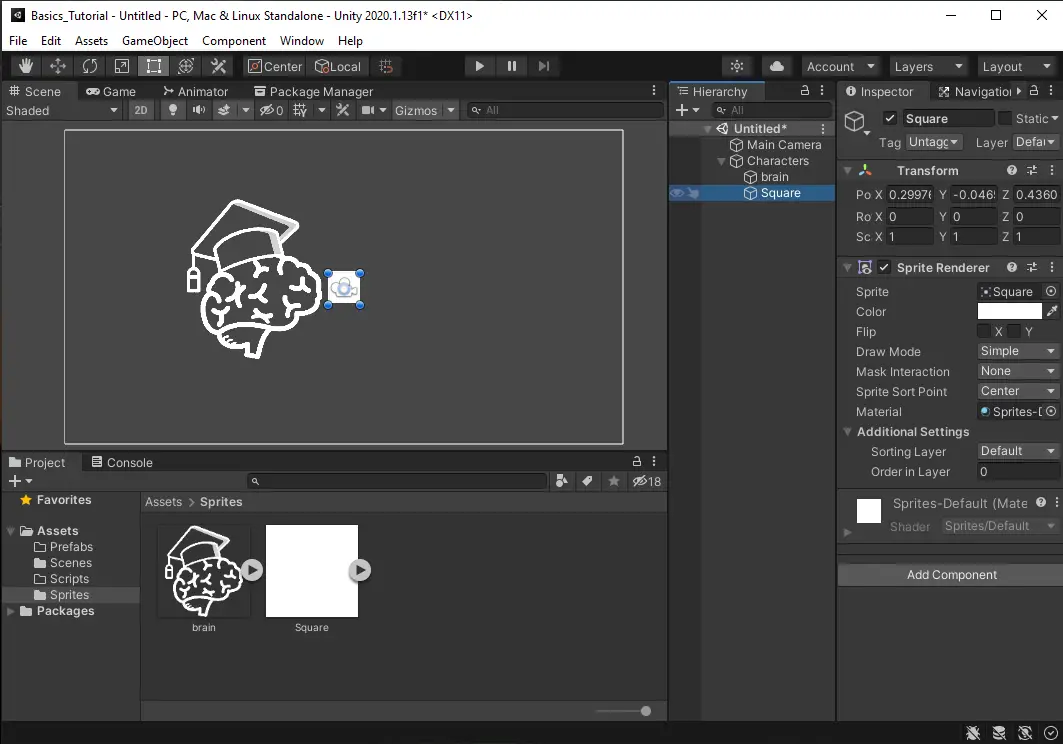
We can then drag our existing GameObjects inside the hierarchy window into the empty Characters GameObject. It cannot be emphasized enough the importance of keeping your objects organized. For a game like Jump the Zombie, we used this to group our environmental objects, player objects, and menus to allow us to fluidly navigate through and update objects as needed without the frustration of having to hunt or search for them. That being said, you may have noticed that the project and hierarchy windows each have a search bar for finding things you may have misplaced.
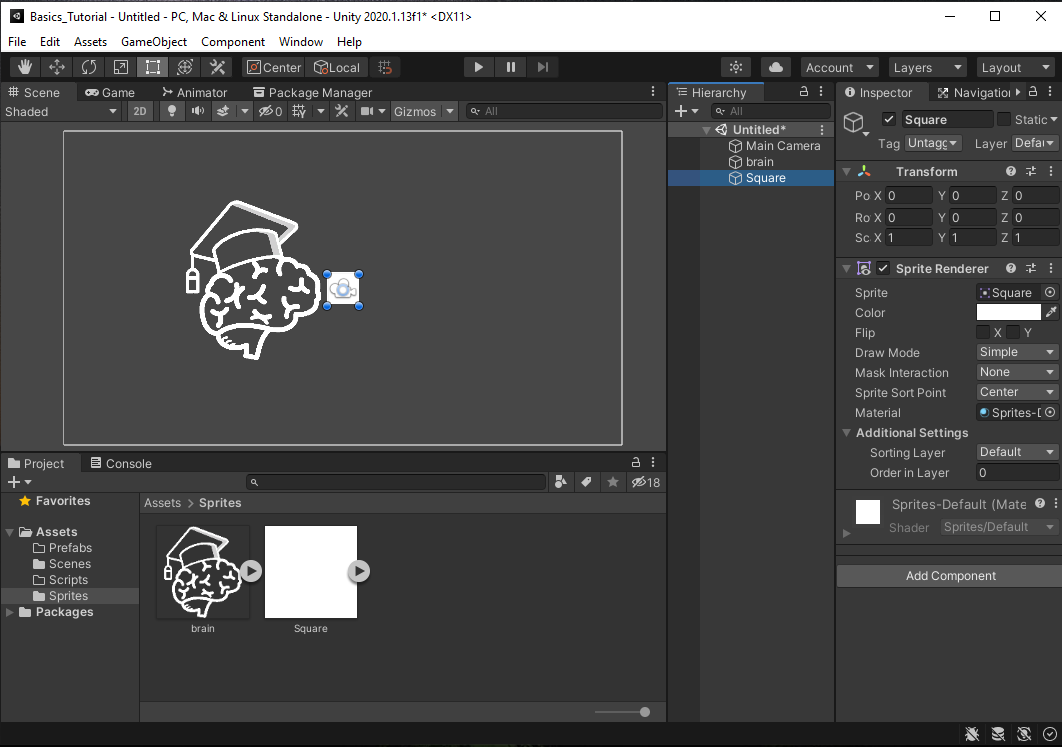
Scene View
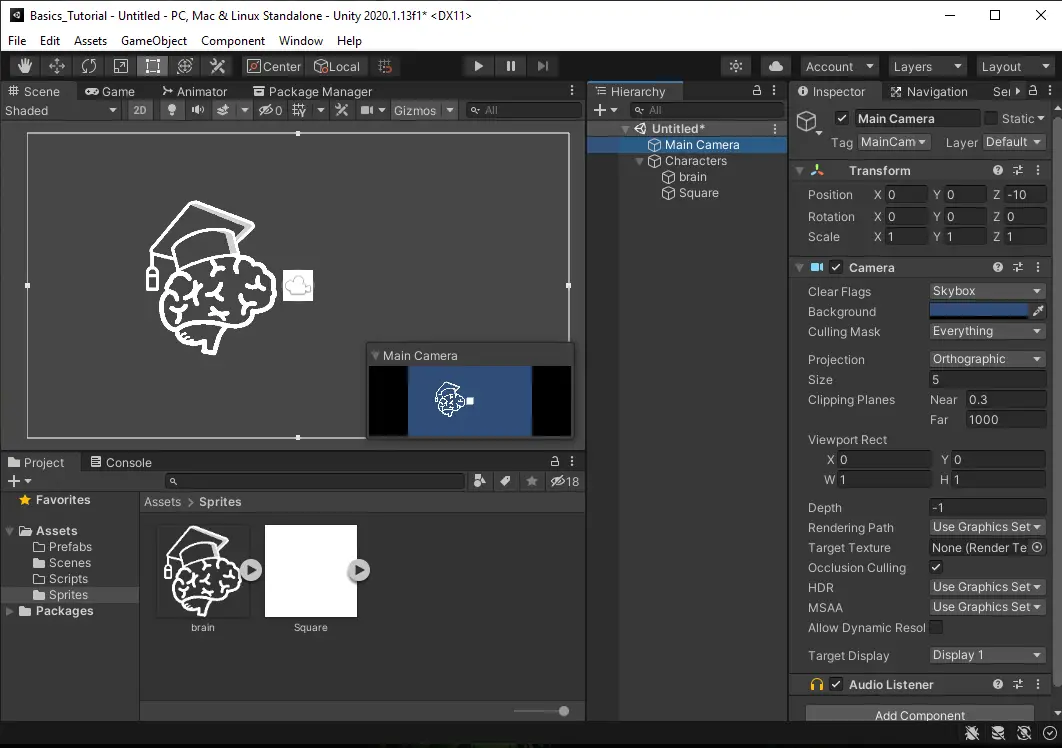
The scene view is where the bulk of your work will be viewed. This is where you will build and layout all of your gameobjects. You can manipulate objects by dragging them around and move the camera around by clicking and dragging with the mouse. There are other handy tools located just below the menu bar, such as scale, rotate, and move, that can be used in the scene view. It is important to note that what you see in the scene view is not necessarily what the player will see. If you select the camera from the inspector, you will get a preview window of what that camera can see.
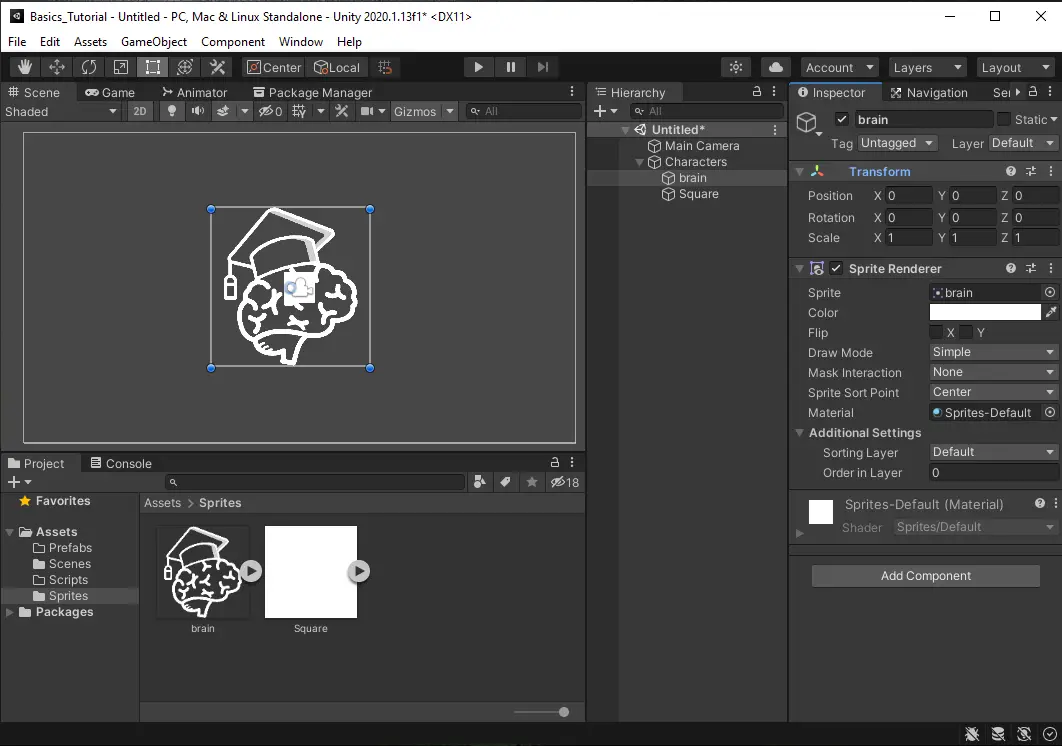
Inspector
Speaking of the inspector, this is where you modify the properties of your GameObjects including adding components to them. The inspector gives you the abilities to define variables set in scripts attached to your objects and make fine-tuned adjustments to an object’s location, rotation or scale.
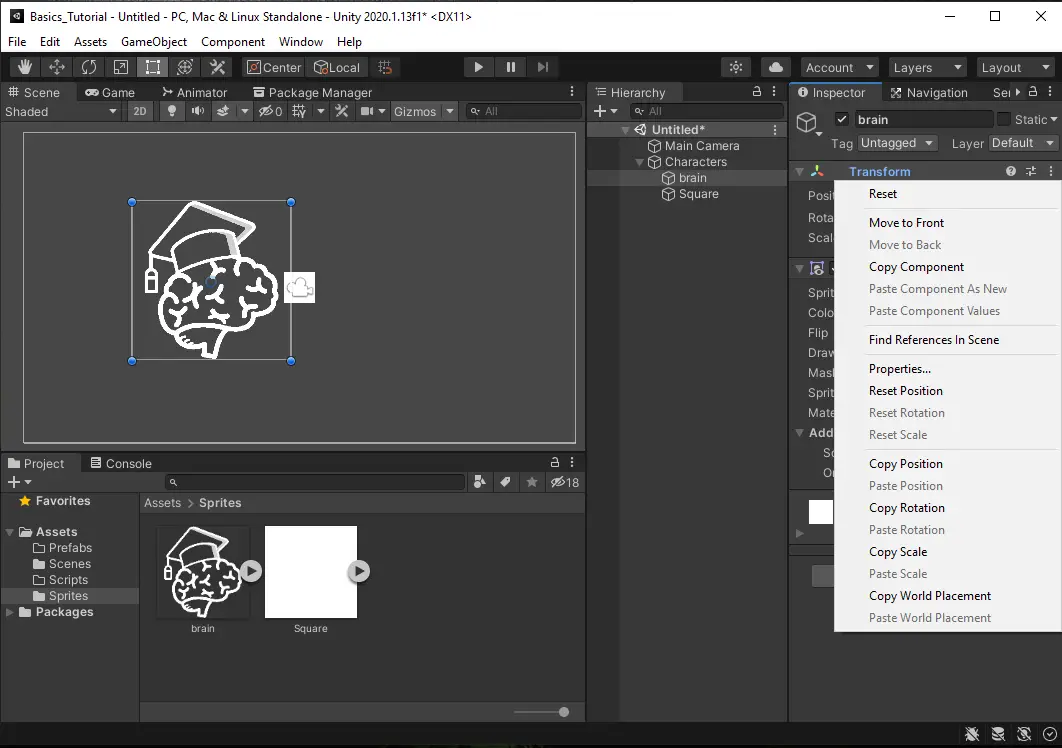
Currently our brain character is off center. We can easily correct this without having by right clicking the transform component and selecting reset. This will center our objects location, rotation, and scale. A note about the reset, it resets based on whatever the parent object is. So, if the parent is on the left of center the object will center left of the center of the scene but center of the parent.
Game View

Game view is used to see what the game will look like once it is played. Here you can run the current scene and test out how things are going. In the top left of this window, you change the screen’s resolution and aspect ratio which is useful for testing things like mobile screens.
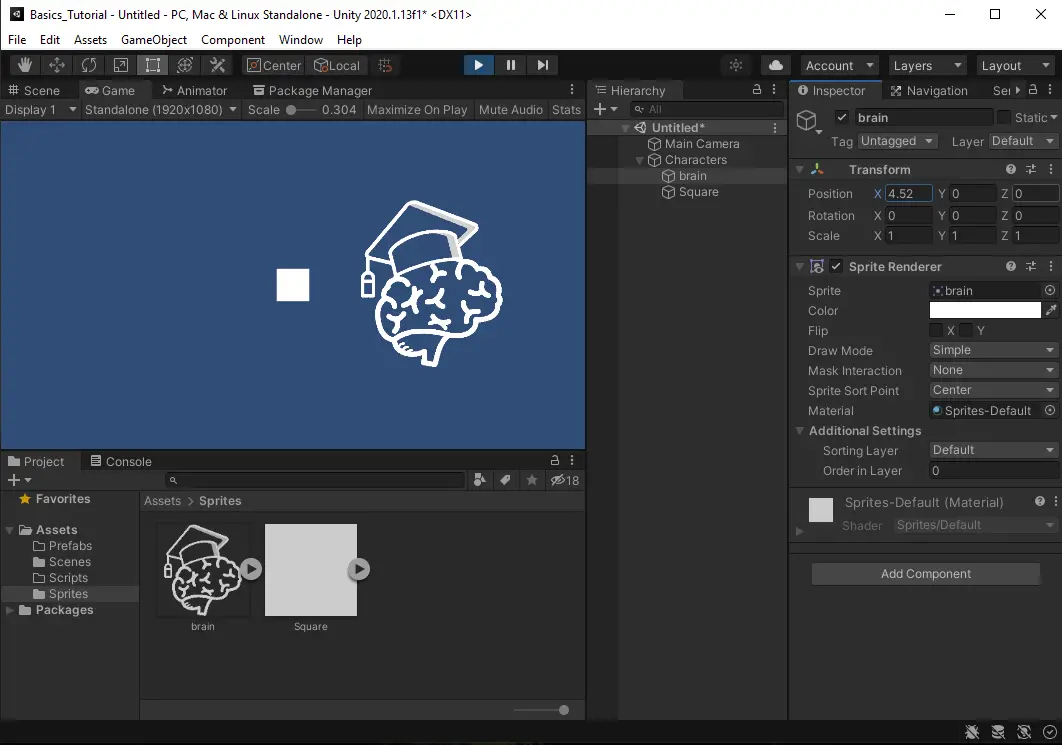
The top of the screen has the play, pause, and step buttons for the game preview.
Play: Runs the current scene.
Pause: Pauses the scene. This stops all game logic and allows you to edit things before continuing.
Step: This will progress the scene one frame at a time. This is great for troubleshooting and seeing things that occur too quickly when playing the game live.
The one caveat to be aware of while editing things in play mode, they are only applied while the game is playing. When you stop play mode the configurations are set back to what they were when you hit play. For instance, in the screenshot above we moved the brain character over to the right in play mode. When we exit, it goes back to center.
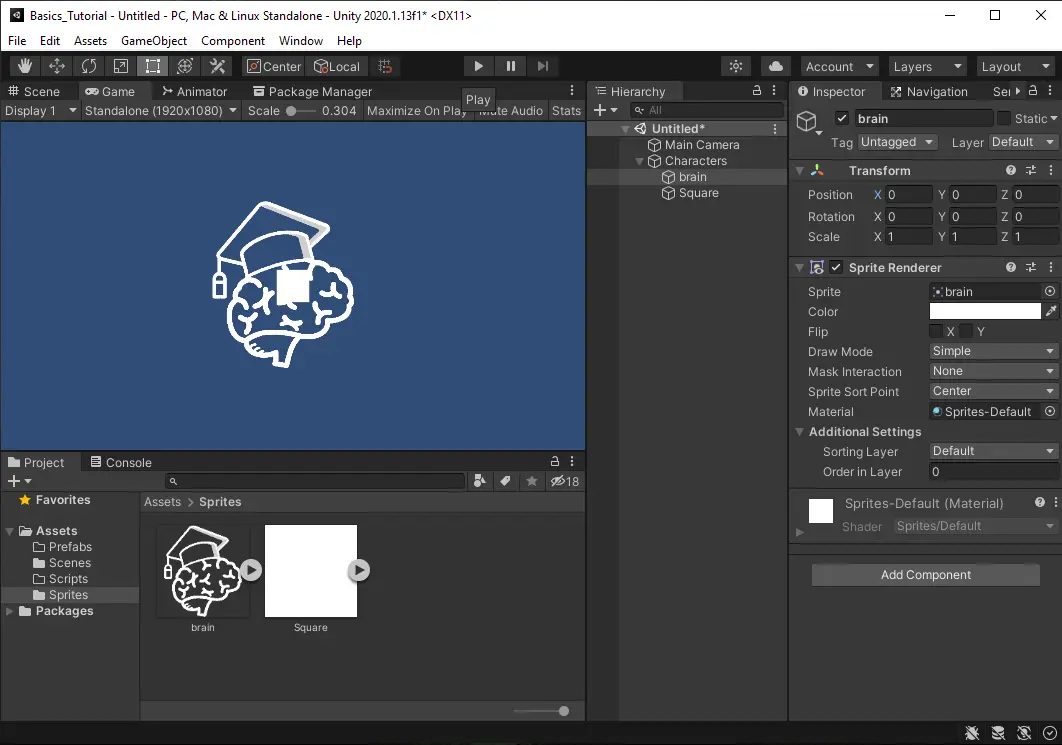
If you made changes to one component you can copy the values by right clicking the title of the component and selecting copy component, then when out of play mode right click the title again and paste component values. If you have changed a lot of different objects, well, I am sorry and know your pain…
Importing Packages
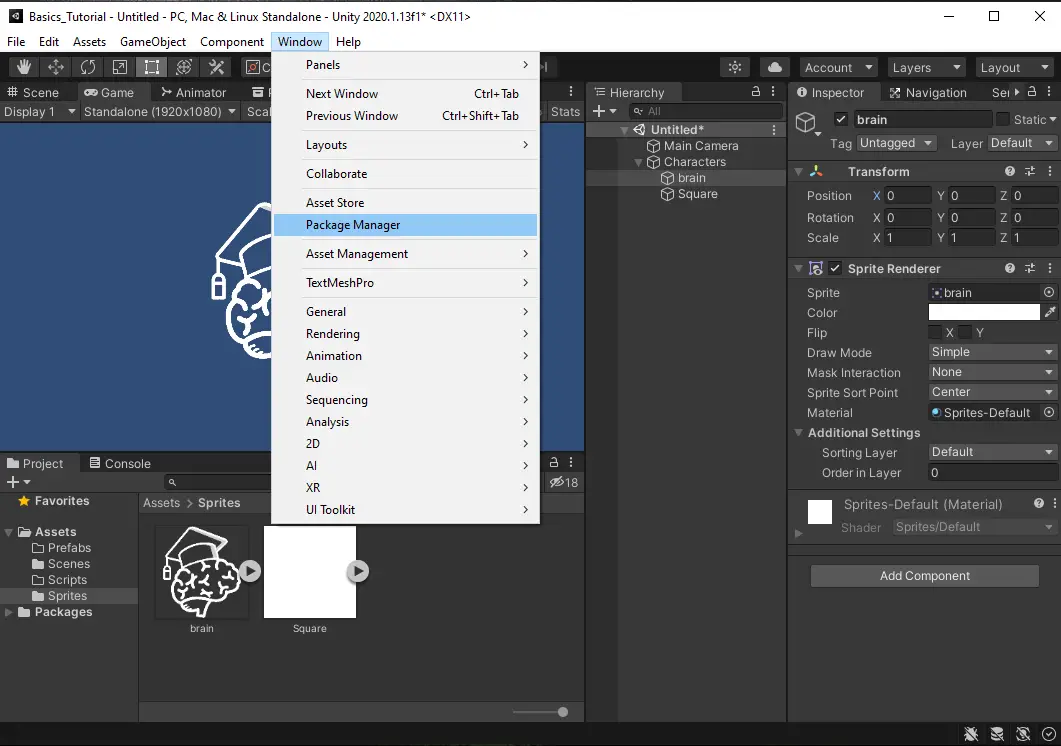
Package manager gives you the ability to add new features and abilities to the editor.
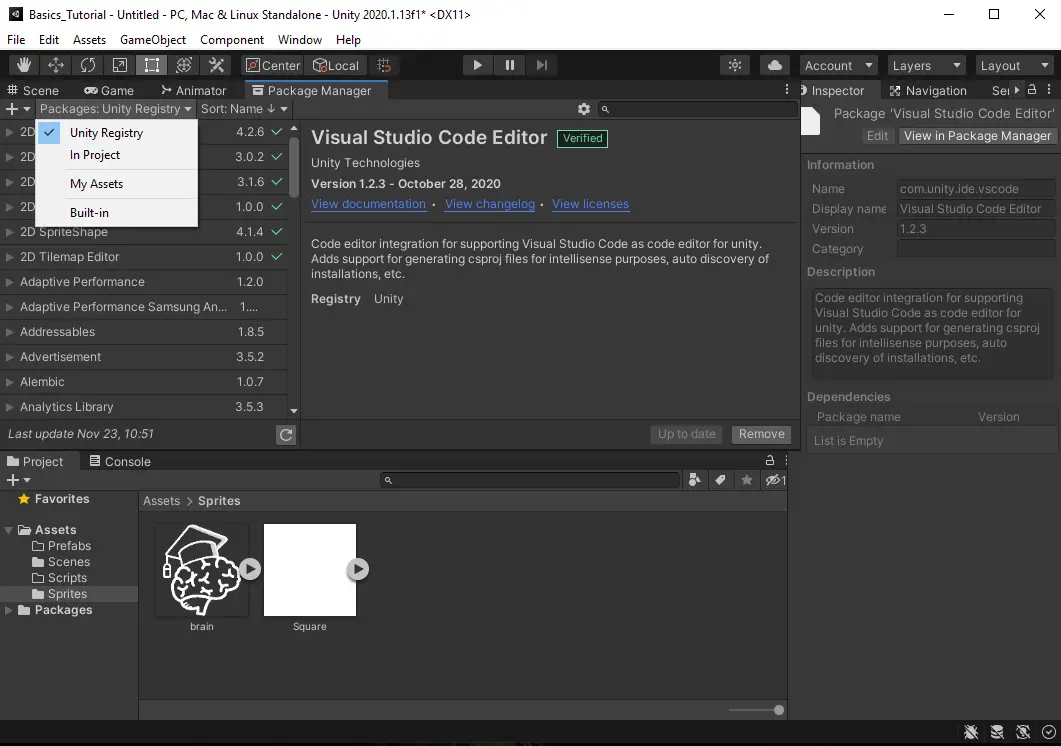
One of the first things I do in package manager, when starting a new project, is to make sure the visual studio code editor package is installed.

You can also use it to import assets from the Unity Asset store that you have purchased. You can filter for these in the top left by selecting packages and my assets.
Unity Asset Store
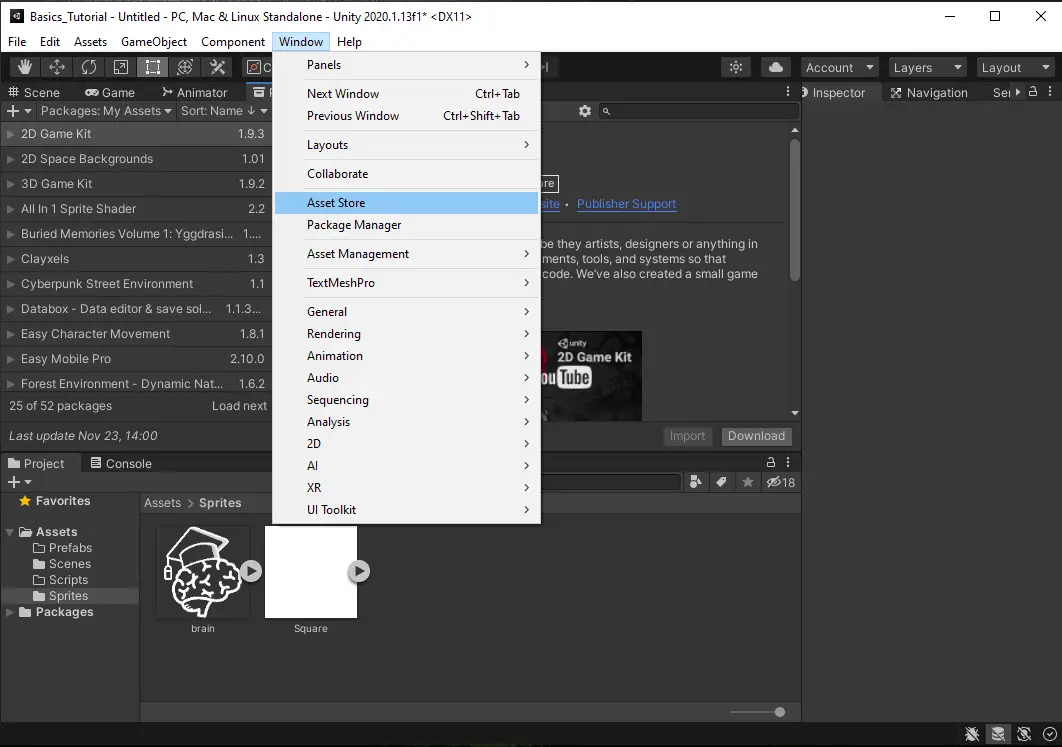
In older Unity editors you can access the Unity asset store directly from inside the editor by selecting Window > Asset Store in the menu bar.
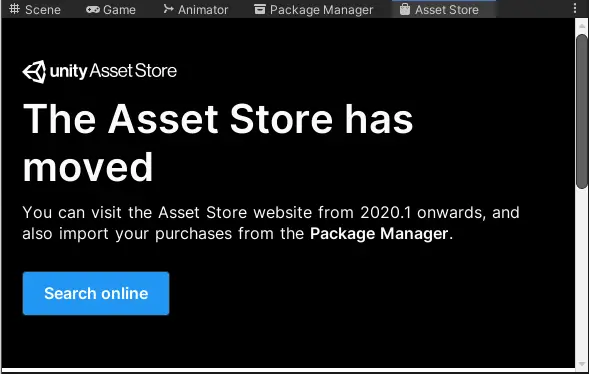
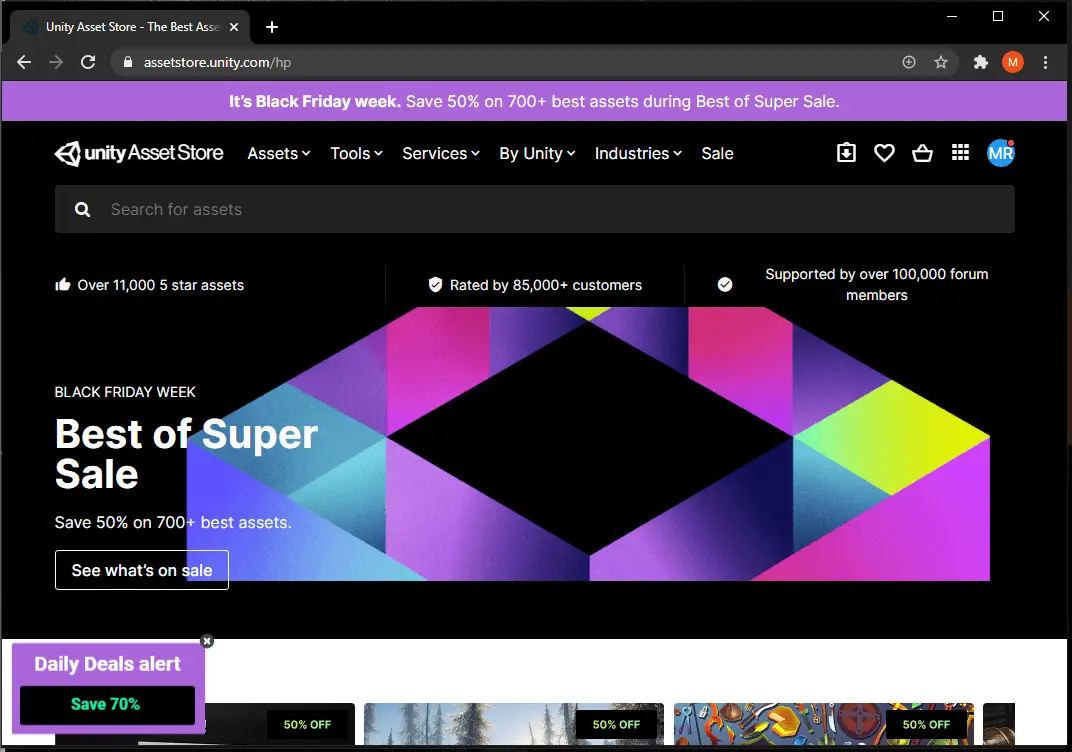
In Unity 2020.1 or newer the unit store has been removed from the engine and can be accessed only through the Unity Store Website . Anything you purchase or add to your account through the site will show up in your assets under package manger.
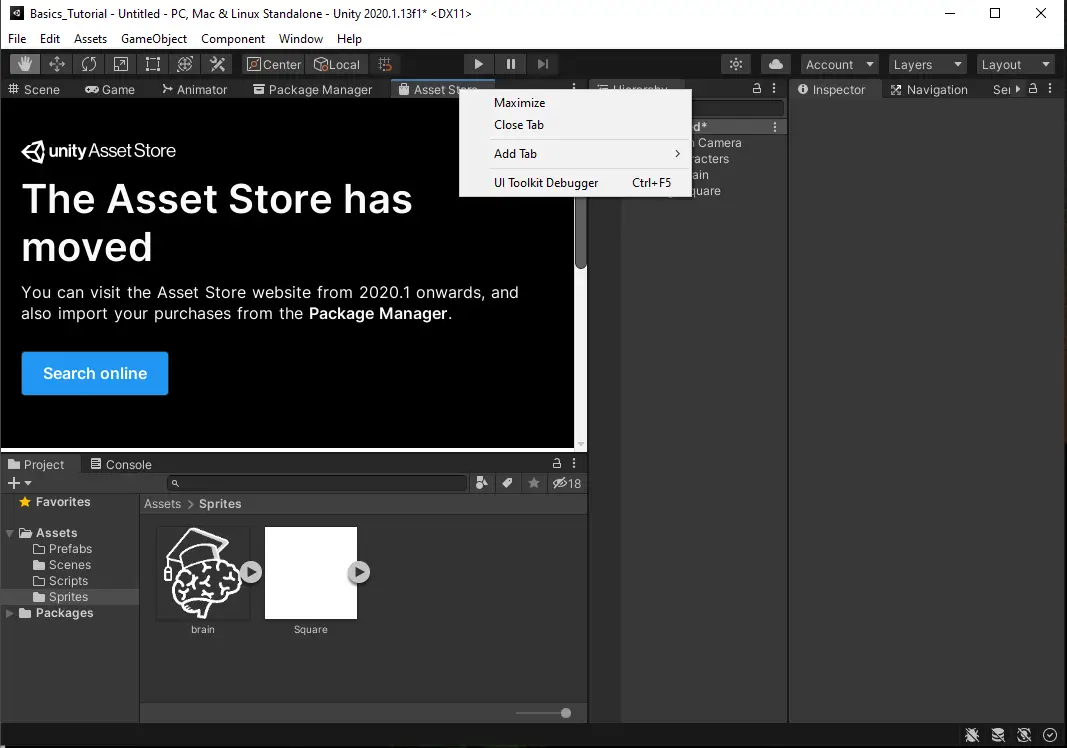
A quick tip to clean up your editor, if you are no longer using a tab in a window, you can right click > Close Tab to get rid of it and free up some space.
Creating Scripts
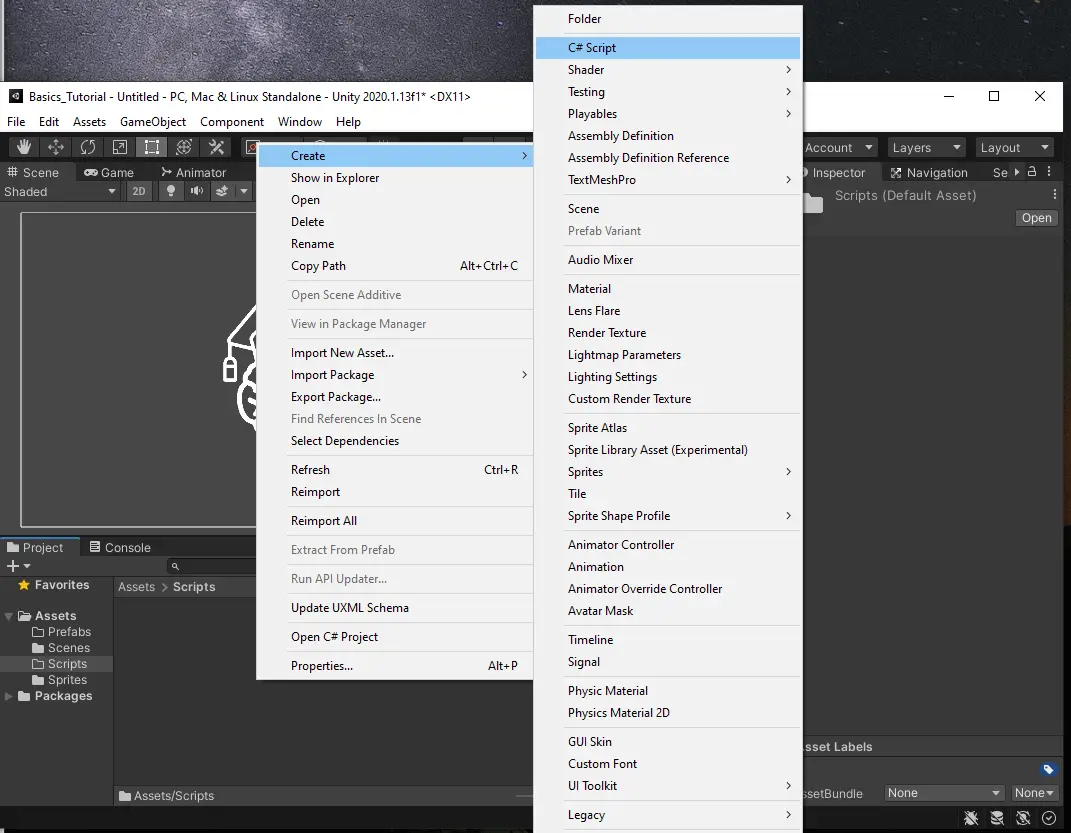
Now to start writing scripts. Inside of your scripts folder, right click and select Create > C# Script. This will create a new script and position you to name the script. Pick a name that represents what this script will do, such as CharacterController for character controls.
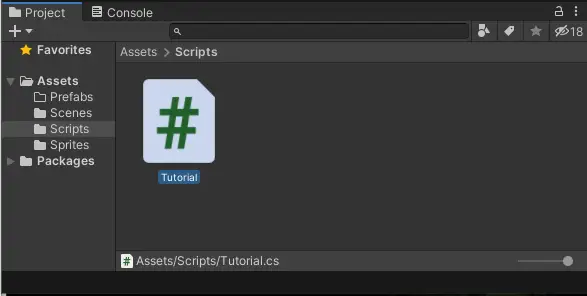
The name you select is used to template the C# script for your convenience. If you decide to change this name later, you will also need to edit the name of the class at the top of the script.
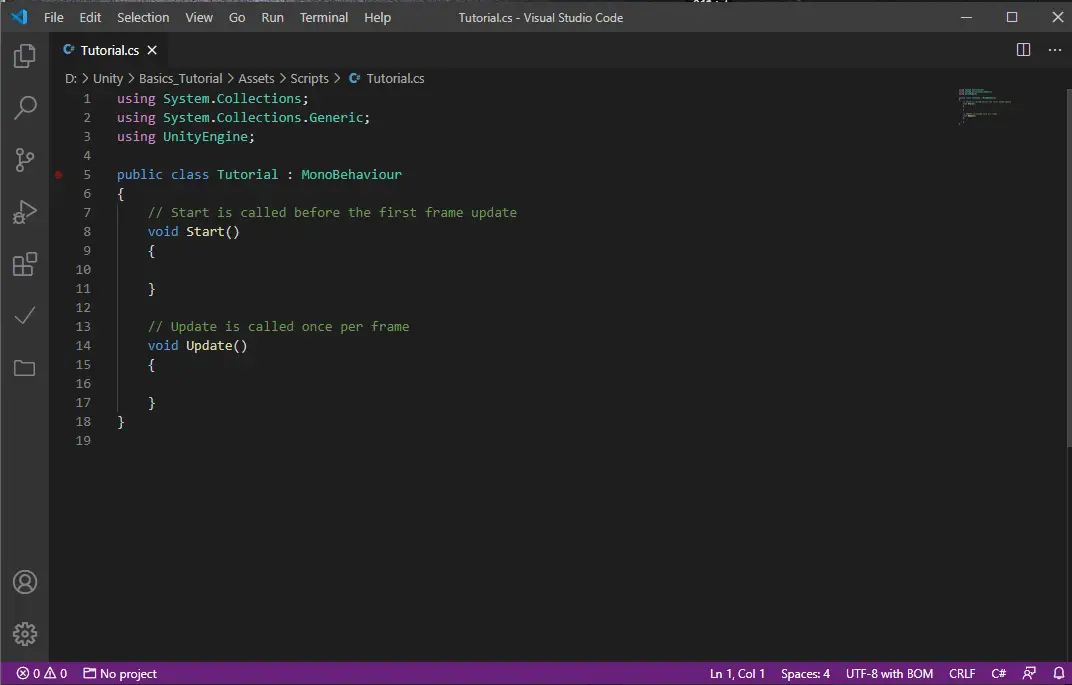
And now you are ready to start writing your game logic. In our next article in this series, we will cover some of the basics in writing code for Unity. Thank you for stopping by. Stick around and check out more of our tutorials or posts like our piece on Best Snacks to Eat While Programming. Also, leave a comment telling us what you liked or did not like about the tutorial. Was it easy to follow along? What do you want to learn next? As always check out some of our published apps below.