
How to Set Up Unity
The all in one game engine.
Introduction
Unity is one of the most popular game engines for indie devs.
About
- Subject: Unity
- Objective: Example: The purpose of this post is to walk you through how to install and set up Unity.
- Time Allotment: Example: 30 min
Getting Started
Selecting a Unity Plan
Unity offers a variety of plans with varying features. It can be a little overwhelming figuring out which option works best for you. Here are some of the things you need to consider before making your decision.
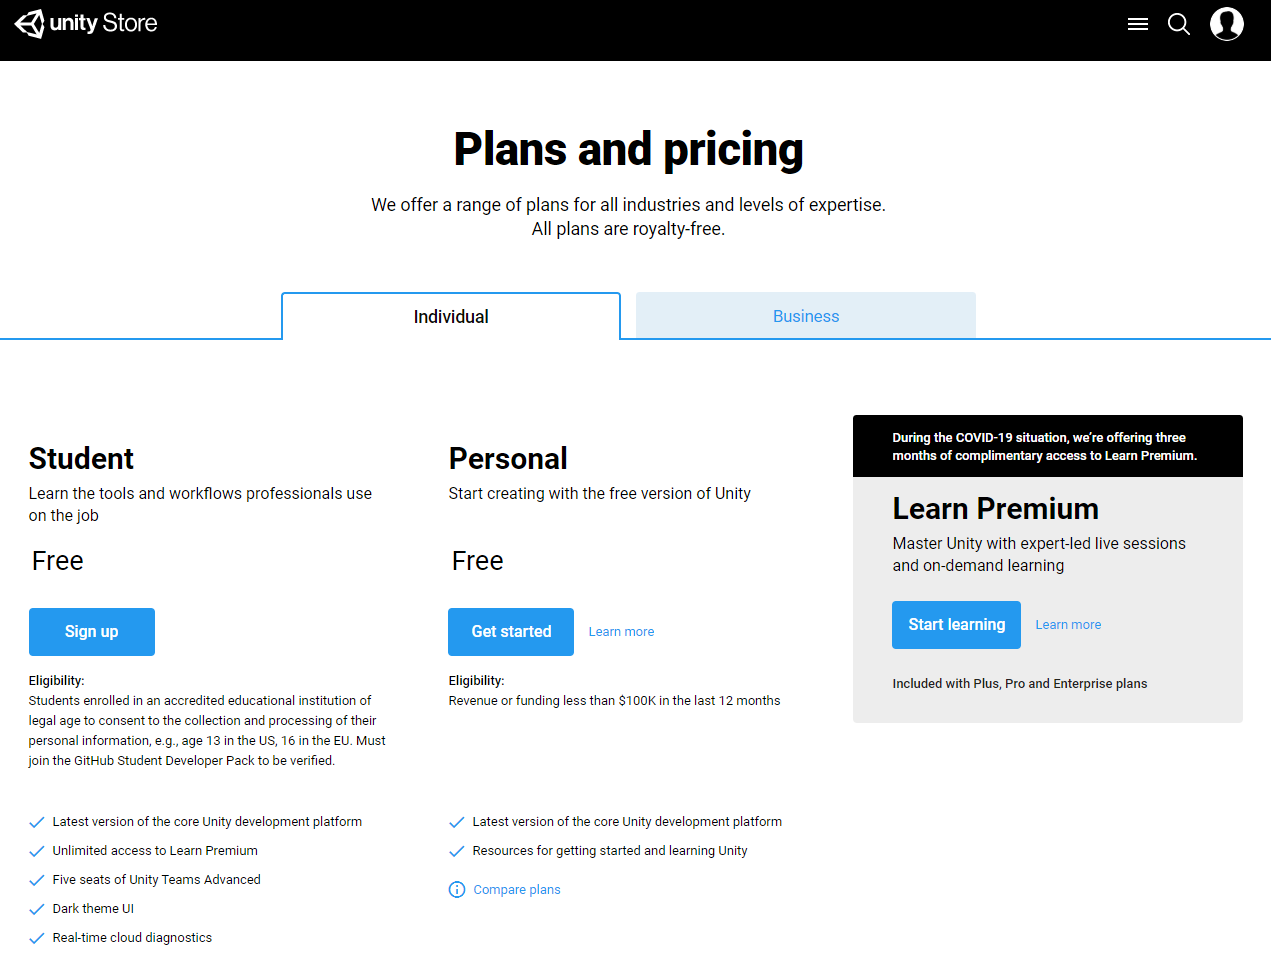
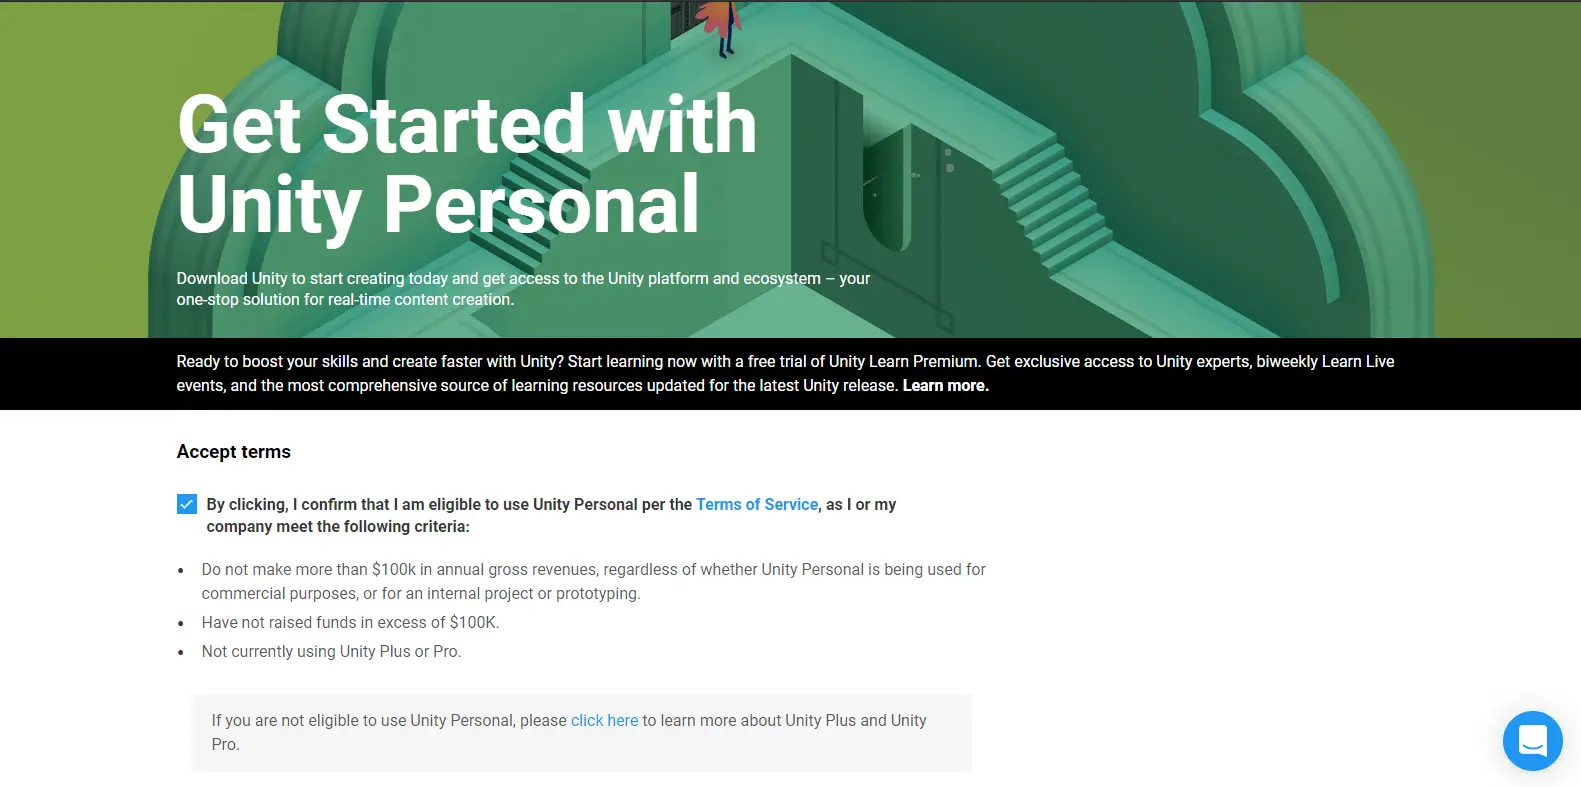
Personal Plan
The upside to this plan is that it is completely free. This is great for those who are starting out and do not have the money to spend on licensing a game engine. This is also the option to select if you are an experienced programmer and want to quickly start prototyping a new idea.
You still have access to things like the unity store and communities as well as the free learning tutorials provided by Unity. You also have the option to add on additional services such as Unity Teams, Unity Teams Advanced and Learn Premium.
On the downside you do not get access to features such as Dark Mode, analytics, or real-time cloud diagnostics.
However, if you are already a published game developer making over $100K in the last 12 months you are ineligible for this plan. This should not be a problem if you are already making this much money because you can purchase the next level plan.
Business Plus
Business plus is the next tiered plan designed for those making above the $100K threshold. This plan comes loaded with goodies added on. Premium learning is included for leveling up your skills and this time the dark theme is included so that you do not burn your eyes. You also get the ability to customize the splash screen that plays when your game is started as well as live analytics and real-time cloud diagnostics.
You will still be missing out on Unity Teams but again these can be added on later. This tier comes with the monthly cost of $40 or you can prepay for 12 months at $400. Once again there is a revenue limit to be eligible. For this tier you must be making less than $200K in revenue over the previous 12 months.
Business Plan Pro
You have made it! You are now making more than $200K a year and you are no longer eligible for those lower tier plans, but who needs them? You are the big shot now. The pro plan comes in at $150 a month or $1800 for a year, pssh pocket change. At this level you are going to get everything from the previous tiers with the addition of 3 seats of Unity Teams Advanced, priority access to customer service and Unity Success Advisors, premium support, and access to the engines source code. You are at the top, nowhere to go from here. Just sit back and rake in the money from all your glorious hard work.
Student Edition
Unity knows the struggles of being a poor college student and they are here to help with the student edition. With the sweetest deal of all the plans, you should feel lucky to be a student. You get access to Learn Premium, 5 seats in Unity Teams Advanced, real-time cloud diagnostics and the most coveted of all Dark theme.
This edition is 100% free and as of this writing does not list any revenue caps. You have to be registered at an accredited education institution and 13 years of age in the US (16 in the EU) to be eligible, this means if you are a high school student or still in university you can sign up. To register for this version, you have to go through signing up for GitHub Education pack, https://education.github.com/pack, which may take a few days, but as a student everyone knows you have all the time in the world.
Download Unity Hub
Once you have selected the right plan for you the next step is to download the Unity Hub. This is basically a control center for all things Unity. From here you will download and manage the different versions of Unity, manage your account and license, start tutorials and, most importantly, create your projects.
Download Unity
Inside the Hub you will need to download Unity. If you are just starting out you will want to start with the latest release. If you already have a project running on a specific version you can select that version or if you want to upgrade you can download the latest and Unity will go through the process of updating your project. To download Unity, go to Installs and select ADD from here you select the version you want.

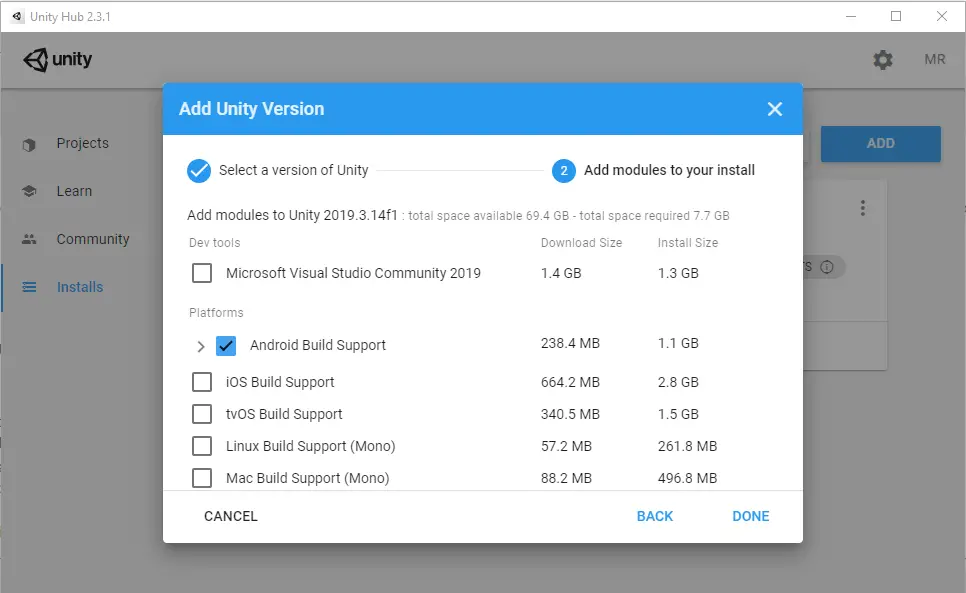
Download Packages for Unity
Unity will then guide you through selecting platforms to build for. For instance, If you are building for Mobile you can select Android and/or iOS build support and Unity will do the work of importing the packages needed to start building. The same goes for Mac, Linux, Windows, or web. You also get the choice of downloading the documentation or the Visual Studio Community for development. We have deselected Visual Studio Community as we prefer to use VSCode. You can check out our tutorial on Setting Up VSCode for Unity(https://www.monkeykidgc.com/2020/05/SettingUpVSCodeforUnity.html) to find out more about the process.
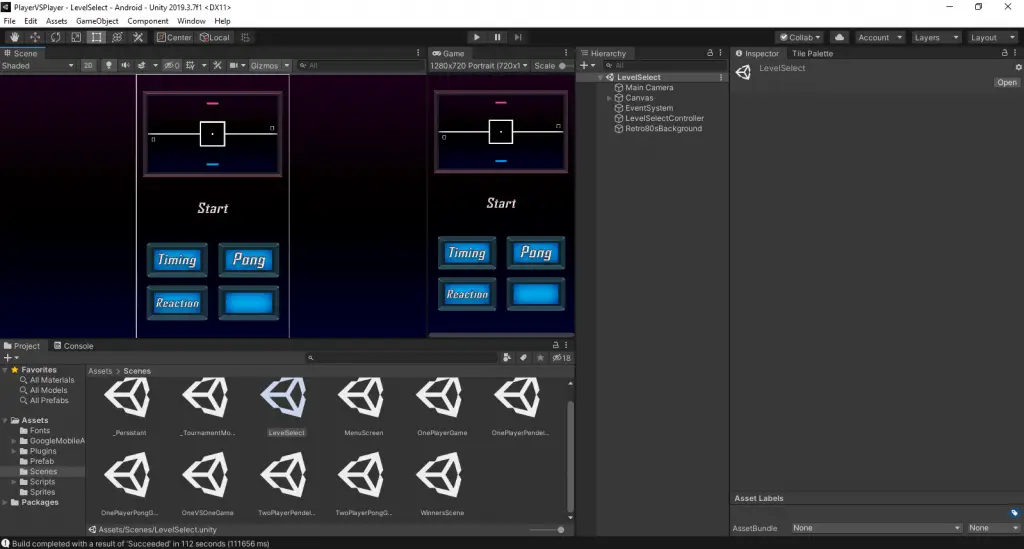
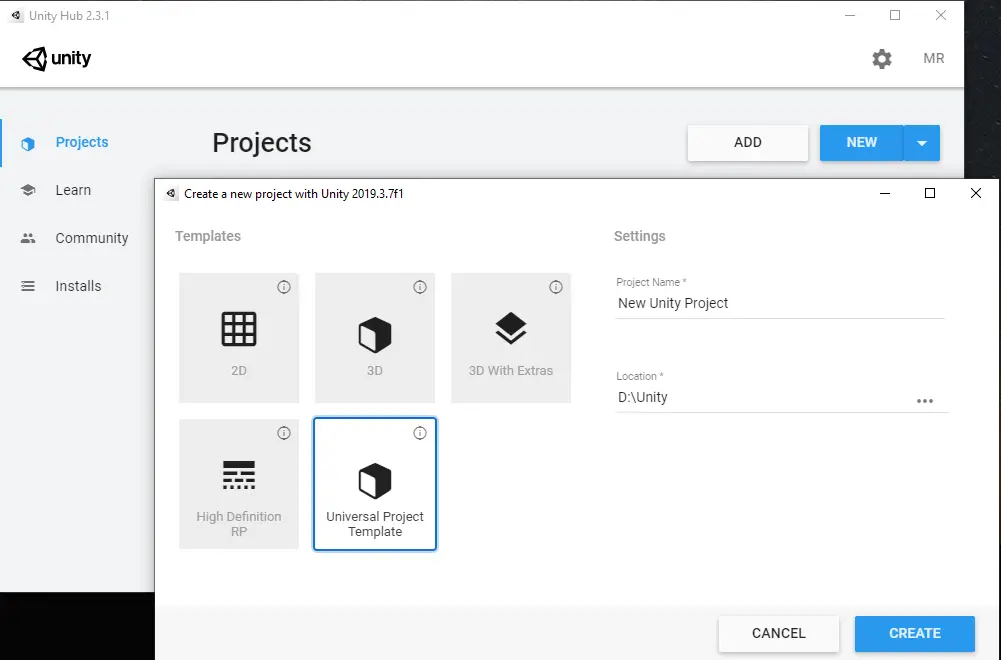
Starting A Project in Unity
You are now ready to start a project. Select Projects and then NEW to get the template screen. Each template is designed to give you a jumping off point for your project. Select for the type of project you are wanting to build and hit Create.
You are now set to start building. If you found this tutorial useful, let us know in the comments. Check out our some of other tutorials, such as Setting Up VSCode for Unity. We currently have two games on Google Play and at the Amazon Appstore for Android, check them out below.