

How to Build a Calculator in Unity
Part 4 – Finishing Up
Introduction
This is part 4 of a multi-part tutorial focused on designing, building, and deploying a basic calculator in Unity. If you missed the previous parts you can check them out here.
How to Build a Calculator in Unity Part 1
How to Build a Calculator in Unity Part 2
How to Build a Calculator in Unity Part 3
In this part we will link the code and game objects we created in the previous tutorials. We will use the designs we developed during tutorial part 1 to guide our process.
About
- Subjects: VSCode, Unity, and Software Development
- Objective: The purpose of this tutorial is to walk you through how to link the code and game assets used in our calculator built in Unity.
- Time Allotment: 20 min
Getting Started
Setting up the Buttons
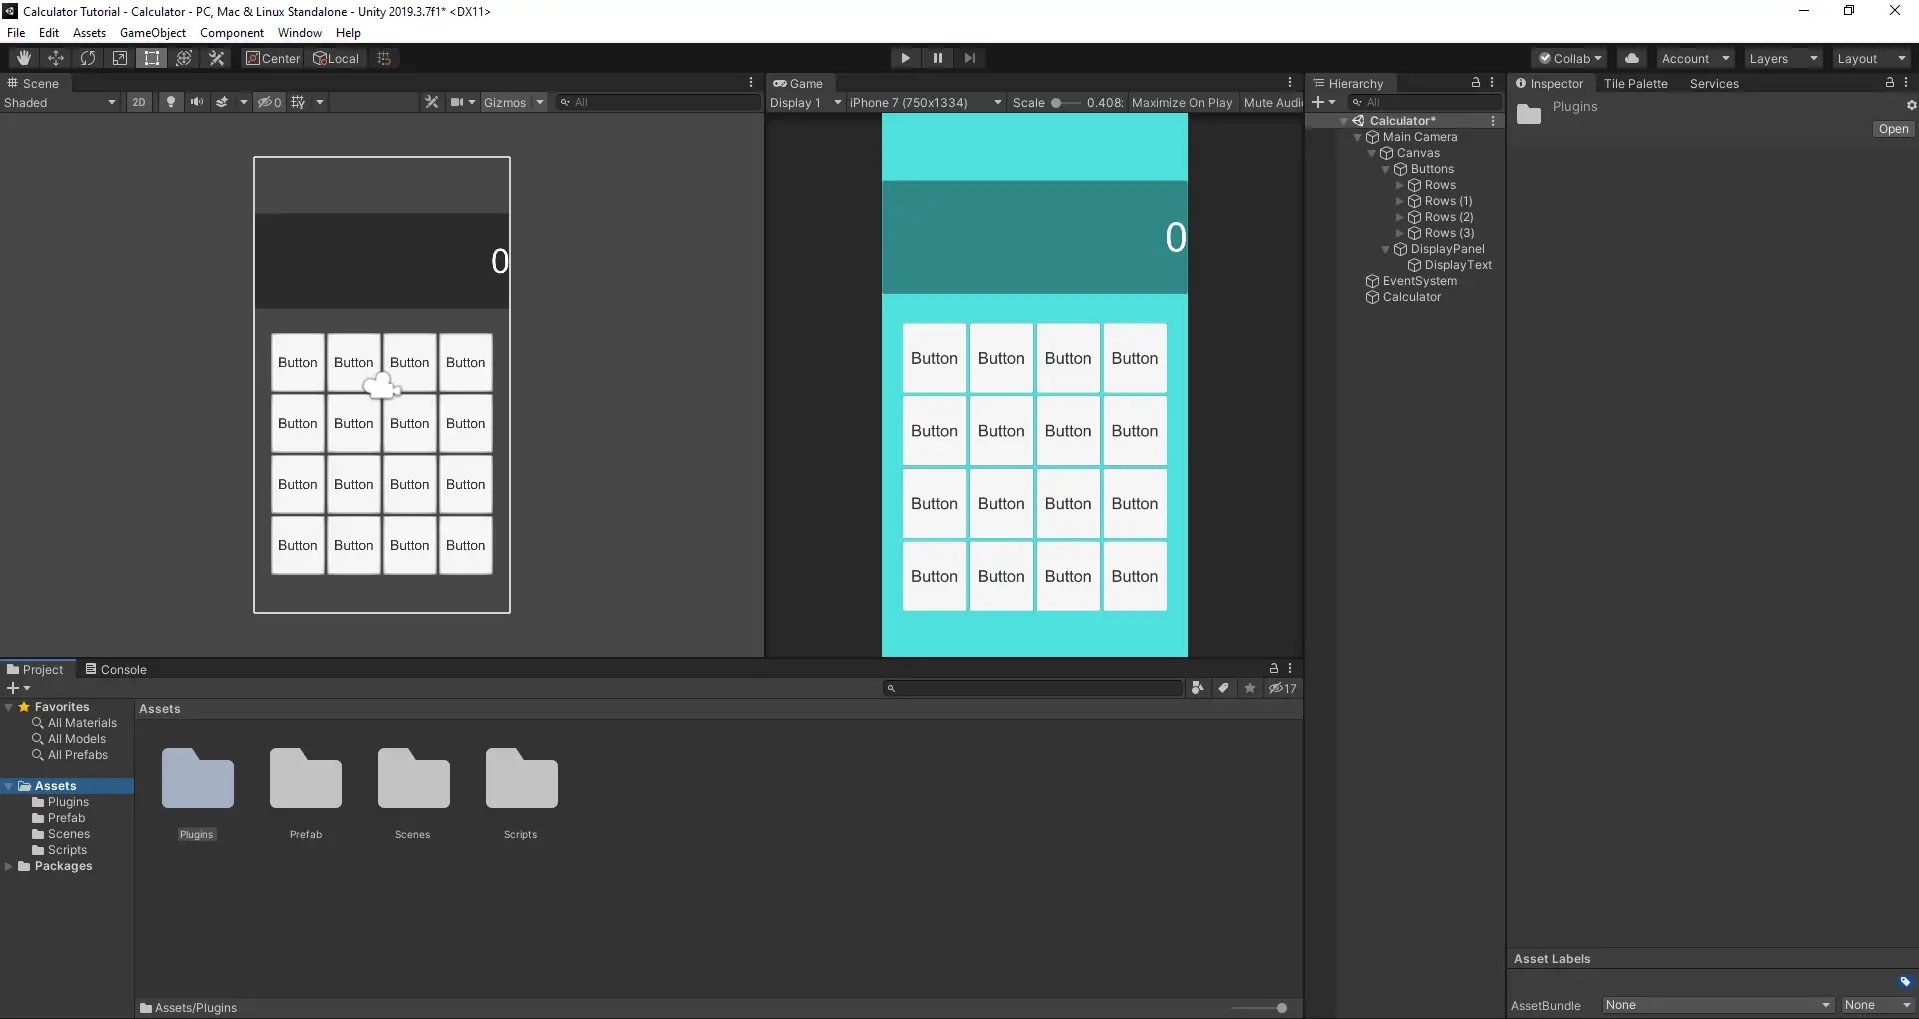
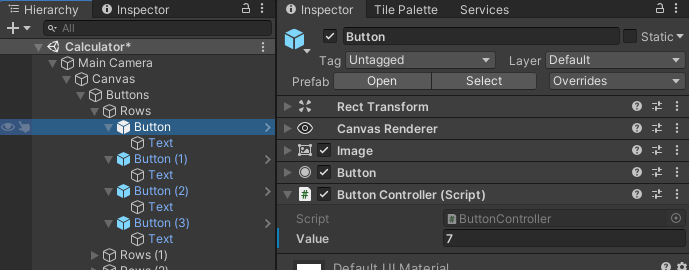
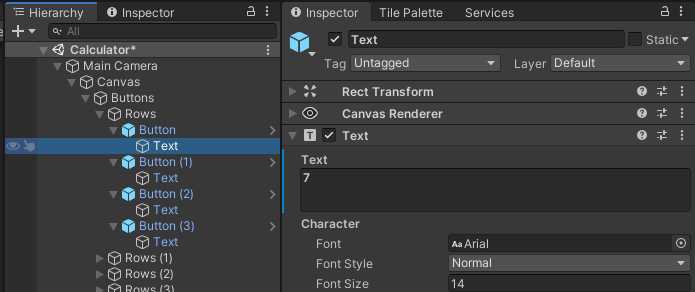
We have our buttons but right now they only say “Button”. Let us fix that by updating the Button Text component to display the value we want the button to represent. While we are doing that we need to also update the value field of our ButtonController script, that is attached to our Button game object, to the same value as well.
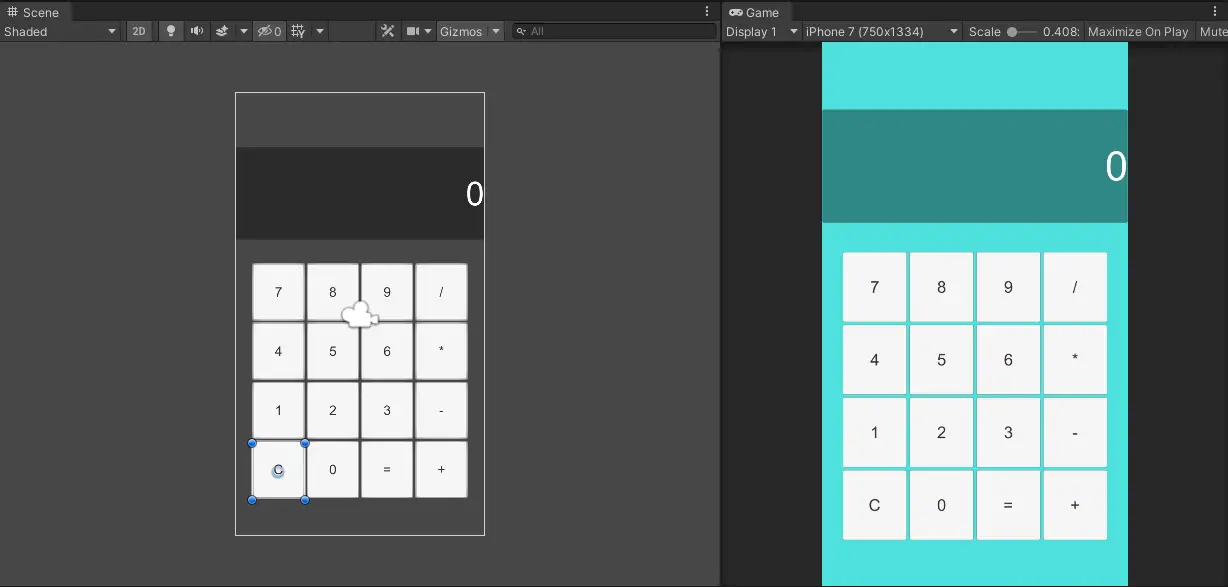
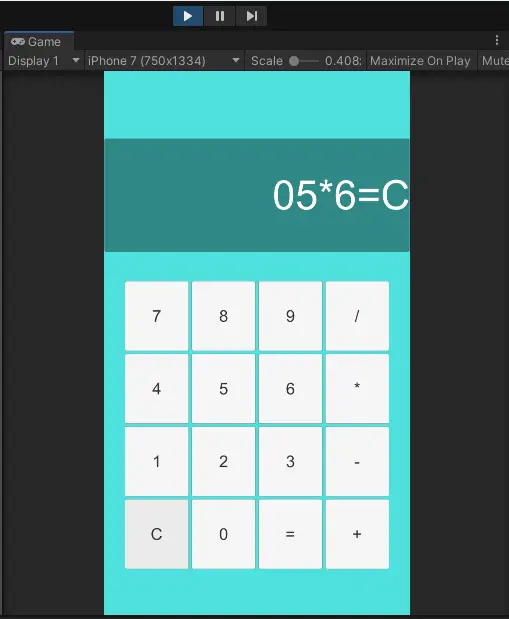
Update the remaining buttons and make sure to include operators, /, *, -, +, =, and C, as well. When you are done your calculator should look something like this.
Adding OnClick Methods
Next we need to tell the buttons what they need to do when pressed. For this we will need to select each Button and inside each Button component add the appropriate method for the button. Since most of our buttons do the same thing, add their value to the display, we can take care of a lot of the leg work by modifying the prefab.
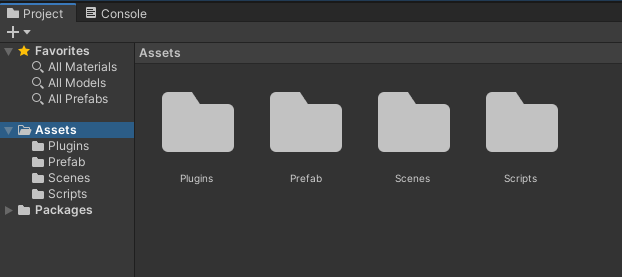
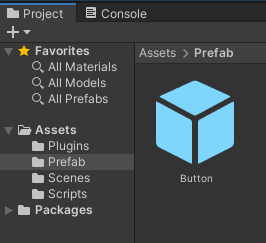
Open up the prefab folder under assets
Now double click the Button prefab to open it up in the inspector.
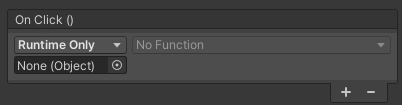
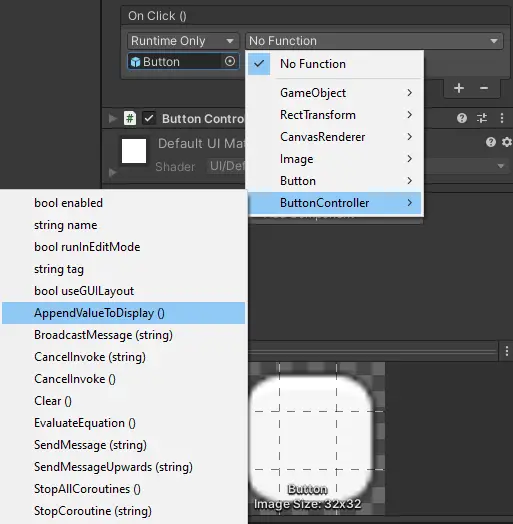
To add a method, click the + button under On Click ()
Then for the object select the Button game object.
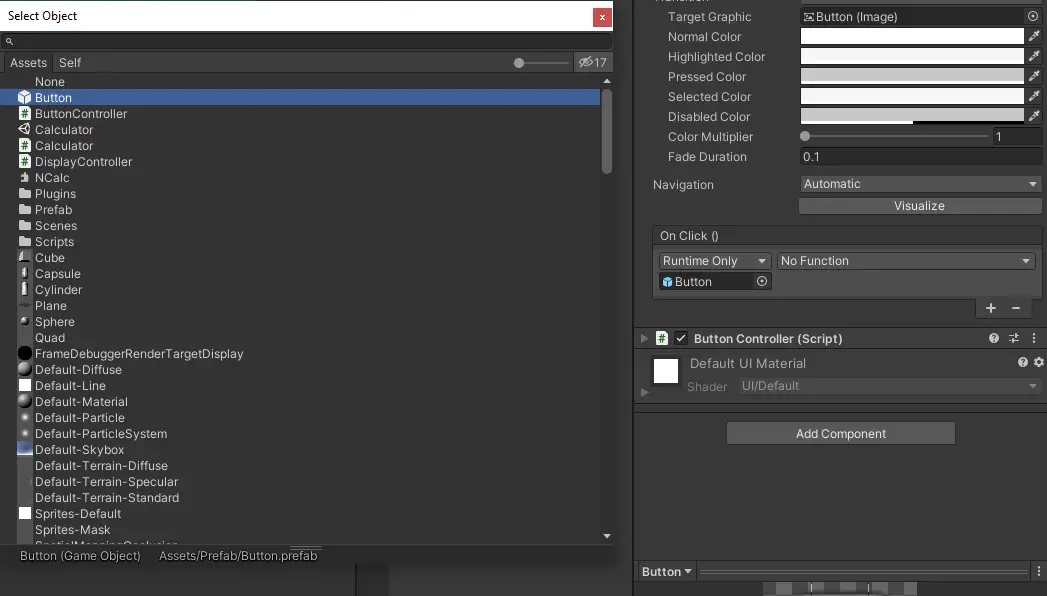
Now we can select a method from the dropdown. Most buttons will be using the AppendValueToDisplay method. So, select it from the ButtonController list.
Now if we run our application we can see that all of our values are being added to our display but C and = are being added as well. To fix this we will need to go back to our scene and update those buttons individually.
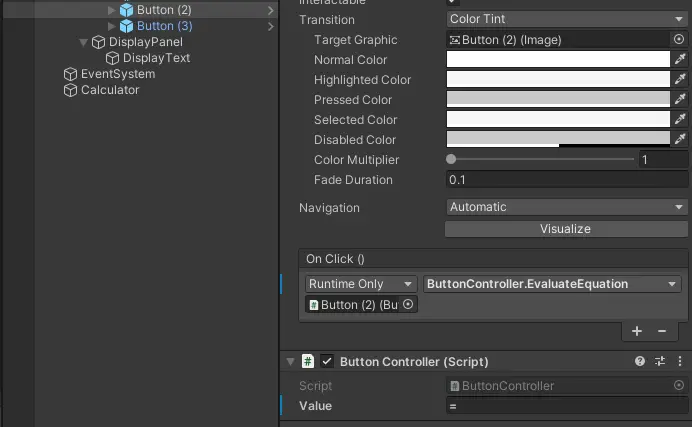
For our = button change the method to EvaluateEquation.
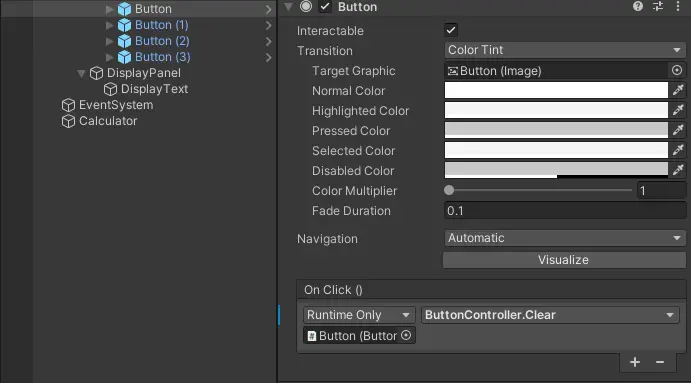
On the C button change the method to Clear.
Now, if you run the application you will see that the clear button will work and no longer inputs a C in the display. The equals button however will throw an error for a null reference. This is due to our DisplayController, so let us fix it.
Setting up the DisplayController
Clicking on our DisplayPanel we can see the DisplayController does not know what
the Calculator is.
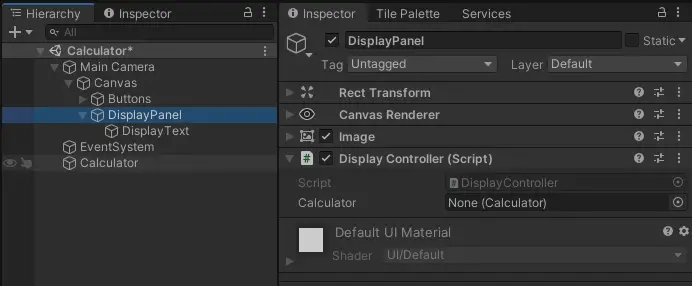
We can fix this by dragging our Calculator game object over to the input field.
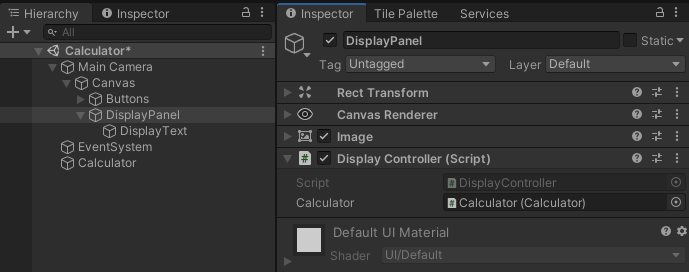
Now our application will run as expected. We can complete all of our operations and calculate them to the display.
Wrapping Things Up
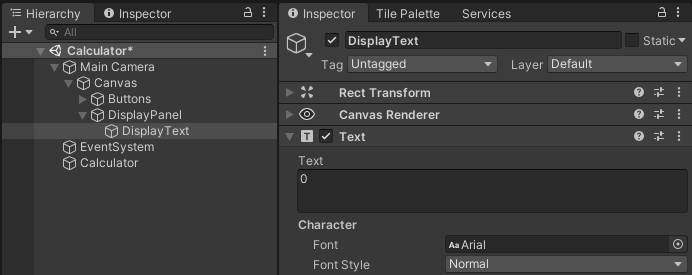
One minor quirky thing we left in is the 0 that is in the DisplayText when the app is started. This does not affect the math and can be cleared by hitting clear but if you want it to go away delete the 0 from the text component so it does not start with it.
Your Calculator is now complete. You may be wondering what happened to some of our other requirements from part 1. Well, that is where your newfound experience and knowledge of how this application works comes into play. Take the code we have developed here and add on to it to create something unique for yourself. Take the features we discussed and implement them or throw them out and create new ones.
A great way to keep track of your build process and milestone events, such as adding new features, is by using a Kanban board. Never heard of it? Check out our article on Kanban Boards to find out how to use them.
So far we have designed our calculator by laying out the different features and functions, we have created the project in Unity and added the user interface, created our scripts to control the behavior of our game objects, and have now linked them in Unity. Check out our final tutorial in this series, How to Build a Calculator in Unity Part 5, we will go over how to build your game for distribution. Also, we currently have two games on Google Play and at the Amazon Appstore for Android, check them out below.
Hey,
I have a problem so when i need to value the script but there isnt place for it. I checked the code 20 times but cant find it.
Sry bad English but i mean that when i need to give my bottoms value’s there just inst a option for that and when i look in the code the “Button control” value is the color white not blue as it is in your photo i don’t know if that has to do whit it. And in the foto of your vs code u whrite “Public Displaycontroller displaycontroller;”
And in the text its just public Displaycontroller.
If u can help me it woud be great.
Hey Rico,
Sorry for the confusion. When I wrote out the completed script I must have left out the field name for DisplayController. Thank you for pointing that out! I have fixed it now.
For the bottom row of your buttons the OnClick method should be ButtonController.Clear for the C button and ButtonController.EvaluateEquation for the the equals button.
The value field for the ButtonController is a string that holds the value you want to calculate. The C button and = button are different than the other buttons because they are values we do not want to calculate. That is why they get their own method.
The 0 and + buttons are values the calculator can handle. These two buttons can still use the AppendValueToDisplay method. Which will take the assigned value and add it the the display for calculation.
As for the color. If you are saying your Button game objects are white that may be the problem. Blue indicates that the object is a prefab. White means it is a ‘unique’ object. You should have only made one button and then turned it into a prefab in the “Creating the Buttons” section of part 2. Once you have the prefab you use it as a template for the rest of your buttons.
If you did not make or use the prefab for your buttons you can still add the button controller script to the buttons. This will allow you to add values and OnClick methods. It just becomes more tedious to make changes and update latter.
Thank u very much for the fast respond and that u want to help me.
But like its hard to explain whats wrong, with the white i mean in VS code the words: calculator and displaytext are white and when i look at your foto’s there blue and yes i have the same color pallet as u have. And when i try to add the script to my buttons there’s a error beneath it and i cant add a value. By console there’s also a error/(tekst whit!) thats says “Assets\Scripts\DisplayController.cs(9,22): error CS1519: Invalid token ‘;’ in class, struct, or interface member declaration” and sry i am just new to coding and your tutorial has very much helped me in the progress but i’m just stuck here. If u maybe have discord i can sent u screenshots or if u have the finished product i can maybe see what i did wrong and learn from it (by far the best tutorial i found on the Ethernet whit good explaining after each thing so i know what i’m doing. If u want to ad discord for screens my name is:- B0mp1 -#2213.
Assets\Scripts\DisplayController.cs(9,22) is a pointer to where the error is. If you look at line 22 of the DisplayController class you should be able to find the error. I will send you a message on Discord.