
How to Build a Calculator in Unity
Part 3 – The Code
Introduction
This is part 3 of a multi-part tutorial focused on designing, building, and deploying a basic calculator in Unity. If you missed the first two parts you can check them out here, How to Build a Calculator in Unity Part 1 and How to Build a Calculator in Unity Part 2. In this part we will build out the code using the scripts we created in the previous tutorial. We will use the designs we developed during tutorial part 1 to guide our process.
About
- Subjects: VSCode, Unity, and Software Development
- Objective: The purpose of this tutorial is to walk you through how to code the processes needed for a calculator in Unity.
- Time Allotment: 30 min
Getting Started
Editing the Scripts
First thing we need to do is open up our scripts to begin editing.
In your project structure locate the Scripts folder and open it.
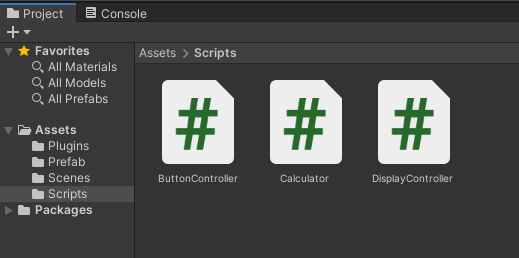
Double click on the ButtonController script to open in in your default code editor. I am using VSCode. If you would like to know how to setup VSCode for yourself, you can check out our tutorial here, Setting Up VSCode for Unity (https://www.monkeykidgc.com/2020/05/SettingUpVSCodeforUnity.html). In VSCode you can see the folder structure of the project. I have gone ahead and double clicked the remaining two scripts, Calculator and DisplayController, to open them into their own tabs.
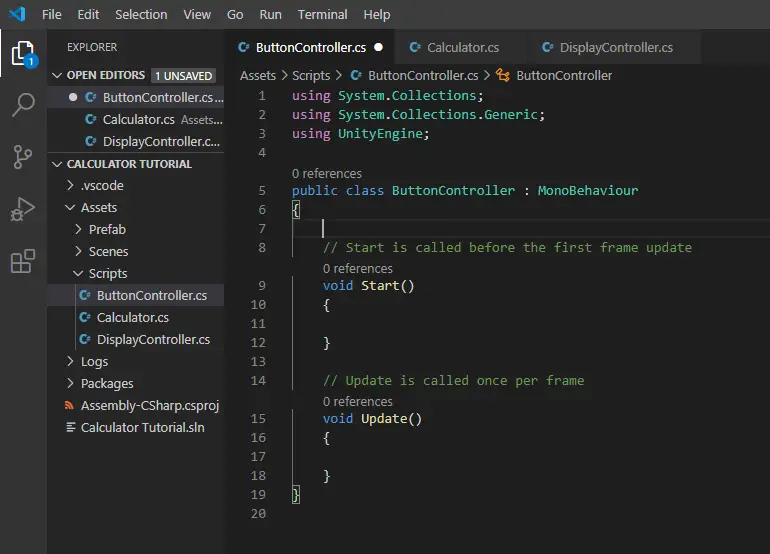
Setting up the ButtonController Script
You will see that Unity populated some default information into your scripts. Some of this we will use and some we will delete.
Let us start with the ButtonController. We will need to declare two fields.
public string value;

public DisplayController displayController;
value will be the value we assign to the button.
displayController is a reference to the displayController script which is stored in the game object DisplayPanel.
We need some methods to activate when the user clicks the buttons.
We will leave these empty for now.
    public void AppendValueToDisplay()
    {

    }

    public void EvaluateEquation()
    {

    }

    public void Clear()
    {

    }
The names have been chosen to clearly define what their purpose is but for clarity they will do the following.
AppendValueToDisplay() will add the value of the button clicked to the display.
EvaluateEquation() will be placed on the equals button to evaluate the equation when the user is done.
Clear() will clear the contents of the display.
Since these methods are reliant on the DisplayController lets work on that next.
Setting up the DisplayController Script
First, we will need to interact with UI elements in Unity so we must specify that in our code by importing it.
using UnityEngine.UI;We will also need two fields here as well.
 private Text displayText;

 public Calculator;
displayText is a reference to the text that the user sees when they enter values. We have declared this as private because we do not want other classes modifying it without using the DisplayController methods we define.
calculator is a reference to the Calculator script which is stored in a game object called Calculator.
Now we can create our methods.
    void Start()
    {
        displayText = GameObject.Find("DisplayText").GetComponent<Text>();
    }

    public void ClearDisplay()
    {
        displayText.text = "";
    }

    public void UpdateDisplayText(string newText)
    {
        displayText.text += newText;
    }

    public void DisplayAnswer()
    {

    }
Start() is called one time and that is when our application starts. This will locate our game object with the name DisplayText and then get the Text component that is attached. We set this to the field displayText we defined earlier. The reason we are instantiating displayText this way is because we cannot assign it in Unity, because it is private, and we only have one DisplayText we need to worry about.
ClearDisplay() is used to set the text of DisplayText to an empty string.
UpdateDisplayText() is called when we append text to the end of the display.
DisplayAnwer() we have left empty for the moment but will be called when we need to display the answer to our equation.
Back in our Button Controller we can now update a few of our methods.
    public void AppendValueToDisplay()
    {
        displayController.UpdateDisplayText(value);
    }

    public void EvaluateEquation()
    {
        displayController.DisplayAnswer();
    }

    public void Clear()
    {
        displayController.ClearDisplay();
    }
AppendValueToDisplay() can now call the UpdateDisplayText method from the DisplayController to add the value of the button to the text.
EvaluateEquation() will now call DisplayController’s display answer method.
Clear() will also call the ClearDisplay method in DisplayController.
Setting up the Calculator Script
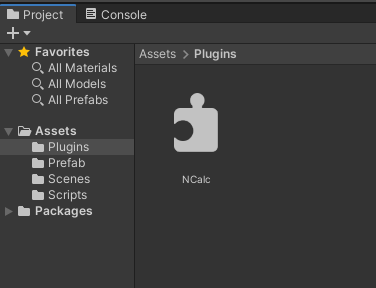
For this we will need to import NCalc. We will first need to download the binaries and add them to our project’s plugins. NCalc binaries can be downloaded here(https://forum.unity.com/attachments/ncalc-zip.471263/).
To import them into Unity, create a folder under Assets in your project named Plugins. Then extract the NCalc.dll and move it into the folder. That is all it takes, easy peasy.
To import NCalc into our script we need to state it at the top like so.
using NCalc;Looking at our design from part 1 we only need to add one method to our script.
    public string Calculate(string equation)
    {
        Expression expression = new Expression(equation);
        return expression.Evaluate().ToString();
    }
Following the documentation for NCalc we need to create a local Expression field and feed it the equation we want to evaluate. Then to perform the evaluation we call the built-in method Evaluate on the Expression. We want this to display as text, so we return the evaluated Expression as a string using ToString.
That is it, our Calculator script is done.
Back in our DisplayController we can update the last method.
    public void DisplayAnswer()
    {
        string answer = calculator.Calculate(displayText.text);
        displayText.text = answer;
    }
Here we are calling our Calculator’s Calculate method while feeding it the displayText Text and then assigning the returned string to the local field answer. Then we update the displayText to show the answer.
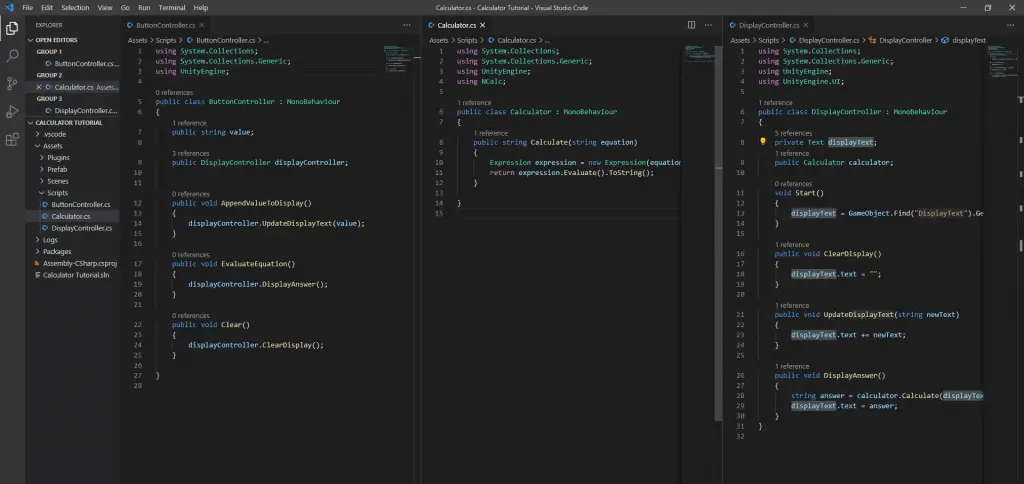
Finished Scripts
ButtonController
using System.Collections;
using System.Collections.Generic;
using UnityEngine;

public class ButtonController : MonoBehaviour
{
    public string value;

    public DisplayController displayController;

    void Start()
    {
        displayController = GameObject.Find("DisplayPanel").GetComponent<DisplayController>();
    }

    public void AppendValueToDisplay()
    {
        displayController.UpdateDisplayText(value);
    }

    public void EvaluateEquation()
    {
        displayController.DisplayAnswer();
    }

    public void Clear()
    {
        displayController.ClearDisplay();
    }

}
DisplayController
using System.Collections;
using System.Collections.Generic;
using UnityEngine;
using UnityEngine.UI;

public class DisplayController : MonoBehaviour
{
    private Text displayText;
    public Calculator calculator;

    void Start()
    {
        displayText = GameObject.Find("DisplayText").GetComponent<Text>();
    }

    public void ClearDisplay()
    {
        displayText.text = "";
    }

    public void UpdateDisplayText(string newText)
    {
        displayText.text += newText;
    }

    public void DisplayAnswer()
    {
        string answer = calculator.Calculate(displayText.text);
        displayText.text = answer;
    }
}
Calculator
using System.Collections;
using System.Collections.Generic;
using UnityEngine;
using NCalc;

public class Calculator : MonoBehaviour
{
    public string Calculate(string equation)
    {
        Expression expression = new Expression(equation);
        return expression.Evaluate().ToString();
    }

}
Now we are all set to link these with our game objects. So far we have designed our calculator by laying out the different features and functions, we have created the project in Unity and added the user interface, and now we have created our scripts to control the behavior of our game objects. Check out How to Build a Calculator in Unity Part 4 where we will begin linking our scripts to our game objects. Also, we currently have two games on Google Play and at the Amazon Appstore for Android, check them out below.