

Tips and Tricks: Remove Components Attached to GameObjects in Unity
Introduction
Using the power of components to drive game design is what makes developing with Unity so flexible and easy to use. Building around singular behaviors and reusing them across your game makes for better code that is easy to understand. There are tons of literature on how to add components at runtime to modify the behaviors of your GameObjects. What is a little harder to find is, how to remove behaviors. How does Unity remove components during runtime? What does it take and what is the best way to achieve deleting behaviors without sacrificing performance?
In this Tips and Tricks: Unity Remove Components we are going to show you how to properly remove, destroy, and disable components. As well as review the best practices for writing performant code that does what you expect.
Remove Component With the Destroy Method
The first way you can remove components is by destroying them. This will permanently remove the component and all associated settings from the GameObject.
The destroy method can be called directly on a component that has been retrieved with GetComponent. The example here uses the generic method. This uses the diamond notation to specify that the type we are looking for is ParticleSystem.
    void OnRemoveComponent()
    {
        Destroy(GetComponent<ParticleSystem>());
    }
Destroy Component By Name
You can also use the component’s name to destroy it. This once again uses GetComponent to retrieve the component. While this method is a possibility, it is not type safe and can lead to some irregularities under certain circumstances.
However, it is useful in scenarios where you only have access to a list of types in string format. For example, if you had a game that randomly removed abilities from the player. You could store the component types in a string list and get the component name by random index. This situation would require the string method.
    void OnRemoveComponentByString()
    {
        Destroy(GetComponent("ParticleSystem"));
    }
Destroy Component by Type in Unity
Next, Unity can remove components by specifying the type of the component. Typeof is a type safe way of getting a component. You can trust it will always return the component you specified.
    void OnRemoveComponentByType()
    {
        Destroy(GetComponent(typeof(ParticleSystem)));
    }
Remove Component Stored in Variable
Additionally, destroy will work on components you have cached in variables. All you have to do is use the helper method GetType() to specify the component to remove.
    void OnRemoveComponentByVar()
    {
        var particleSystem = GetComponent<ParticleSystem>();

        Destroy(GetComponent(particleSystem.GetType()));
    }
Destroy Component Vs Disable Component
Now, you may find yourself in a situation where you need to remove a component from a GameObject but only temporarily. Adding a new component means you have to reconfigure any parameters that may have been set up originally. This is a lot of wasted work for destroying a component.
Disable components instead. When a component is disabled it stops functioning and retains all of its values when disabled. Also, the lifecycle method OnDisable will be called when the component is disabled meaning you can trigger other logic to happen as your behavior is removed. OnEnable will also be triggered if you decide to enable the component later. This will give the ability to update any connections or settings before the normal game logic is applied.
Furthermore, when you disable components instead of destroying them, you do not create overhead and garbage that will bog down your game. It is the same reason your game will perform better using object pooling over instantiating and destroying GameObjects over and over.
How to Disable Components
Unity does not provide a method for disabling and enabling components. Instead, they provide access to active status through the use of a property. Properties essentially act as both a getter and setter method. We can change the status like so.
        GetComponent<SpriteRenderer>().enabled = false;
        GetComponent<SpriteRenderer>().enabled = true;
We can easily set up a switch method to cycle back and forth between enabled and disabled by setting it to the opposite of itself. Neat.
    void OnDisableComponentSwitch()
    {
        GetComponent<SpriteRenderer>().enabled = !GetComponent<SpriteRenderer>().enabled;
    }
Unity Remove Component Example
We have created a simple scene to demonstrate how these methods work. The scene has one GameObject with a sprite renderer and particle system attached. The input system has been configured to trigger each of the methods above.
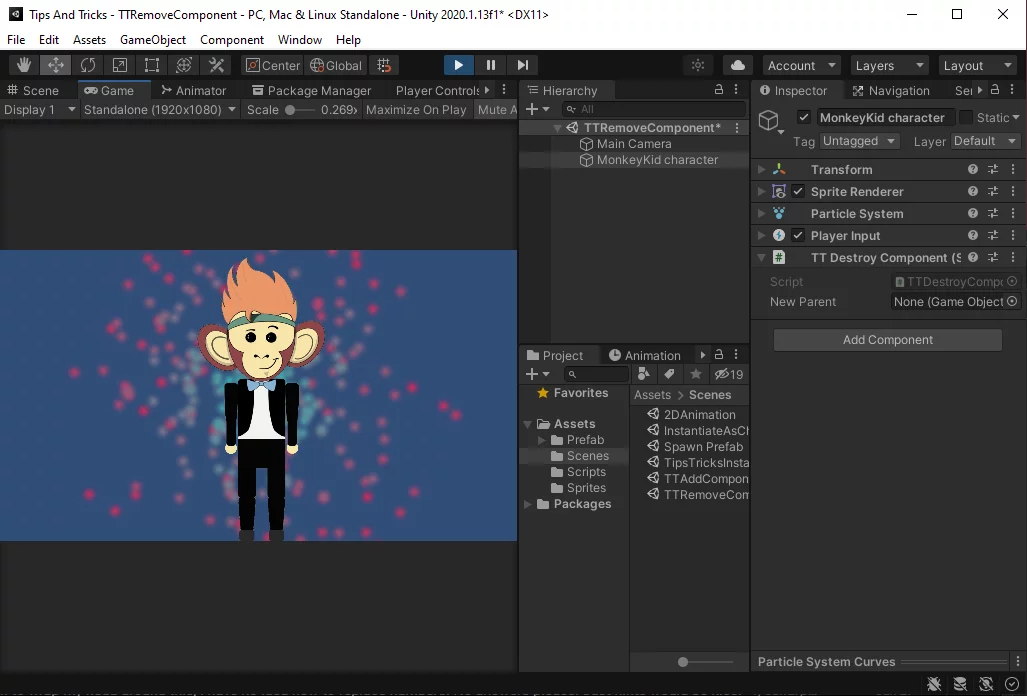
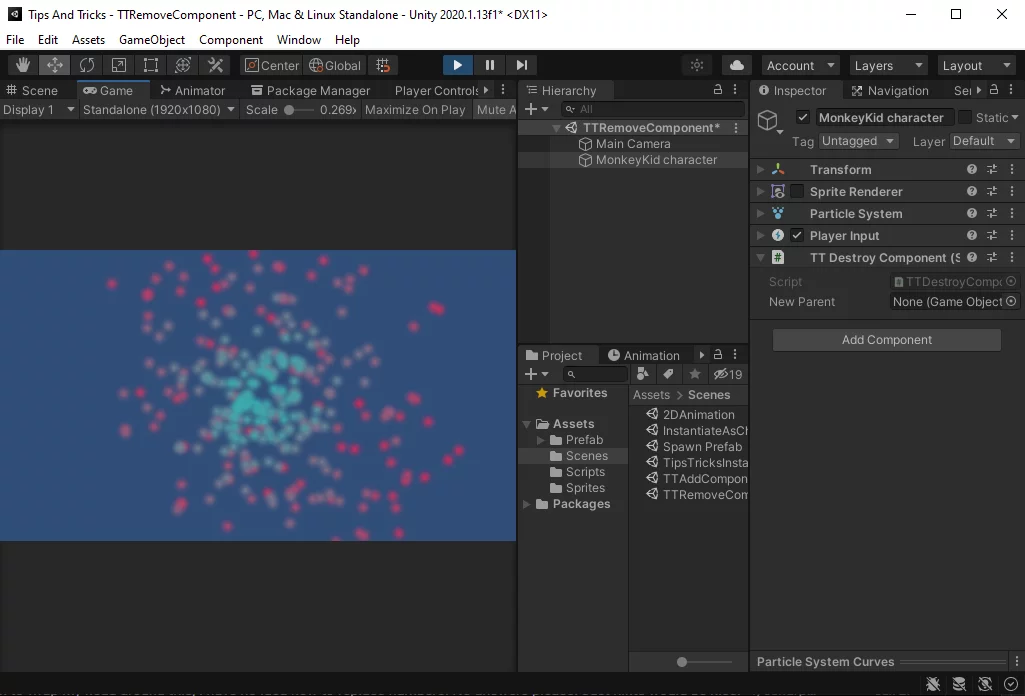
Trigger the DisableComponentSwitch button and watch the SpriteRenderer turn off. Notice the component is still attached to our GameObject. Hit it again and the sprite will reappear.
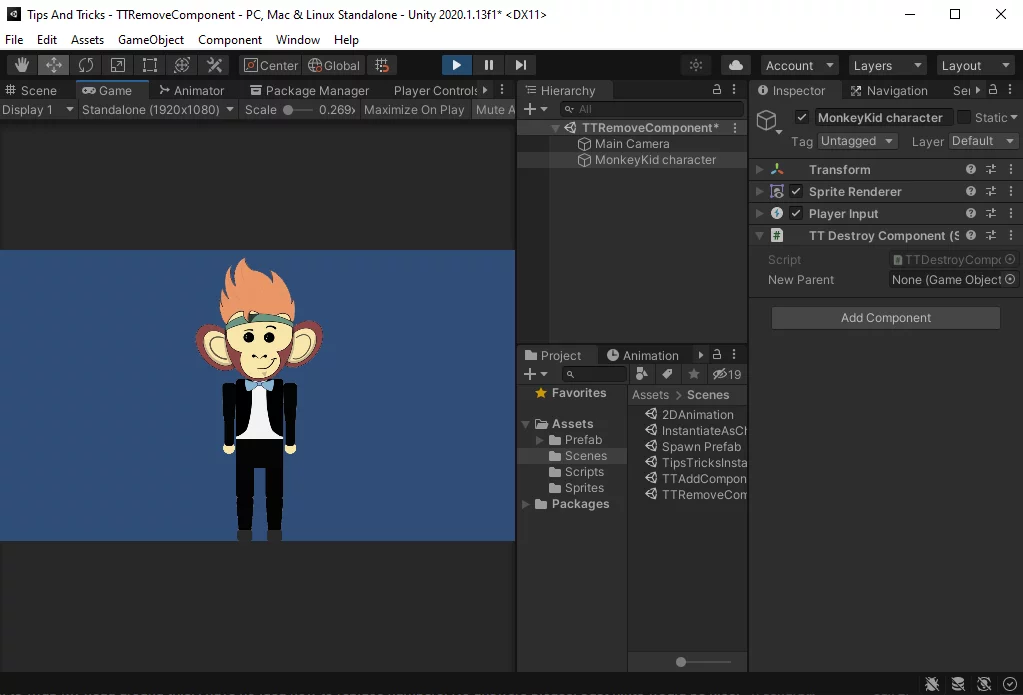
Now, enter the input for one of the destroy methods. The particles disappear and the component is no longer attached.
And now you are ready to remove, destroy, and disable components in the games you create with Unity. Thank you for stopping by. Stick around and check out more of our tutorials or posts like our piece on Unity’s GetComponent method for Accessing, Storing, and Modifying Components. Also, leave a comment telling us what you liked or did not like about the tutorial. Was it easy to follow along? What do you want to learn next? As always, check out some of our published apps below.