
How to Change a Cube’s Color in Unity
Introduction
Many prototypes or first time users will often use Unity’s default cube as a placeholder for their player or other objects in their game world. This cube can look extremely plain and boring to look at. The problem becomes even worse when you add multiple cubes to your scene and can no longer visually track which cube is supposed to be what.
To change a Cube’s color in Unity you will need to create and apply a new material to the cube’s Mesh Renderer materials. This new material can then be changed to the desired color by using the color picker in the material’s inspector. In this Tips and Tricks: Change Cube Color we are going to show you how to do exactly that.
Create a 3D Cube in Unity
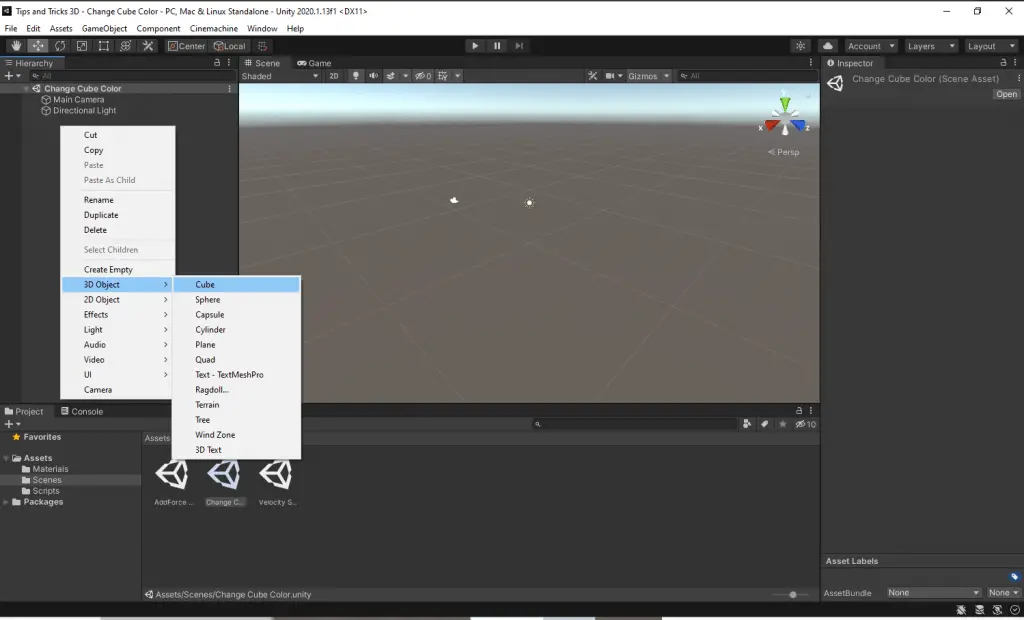
To change the color of a Cube we must first have our cube. Create the Cube by right clicking inside the hierarch window and selecting 3D Object > Cube.
Create a Color Material in Unity
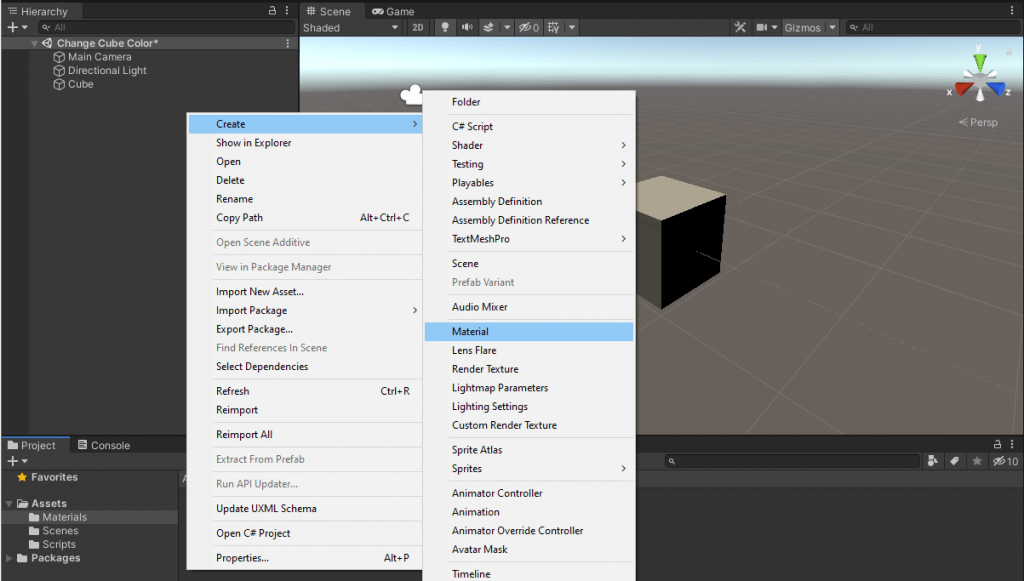
Now, create a materials folder to hold your new material. Creating folders is an important part of maintaining project organization. Inside of our new folder, right click and select Create > Material. Give your material a name that represents what the material does. We will name ours “Blue”.
Apply Material to Unity’s Cube
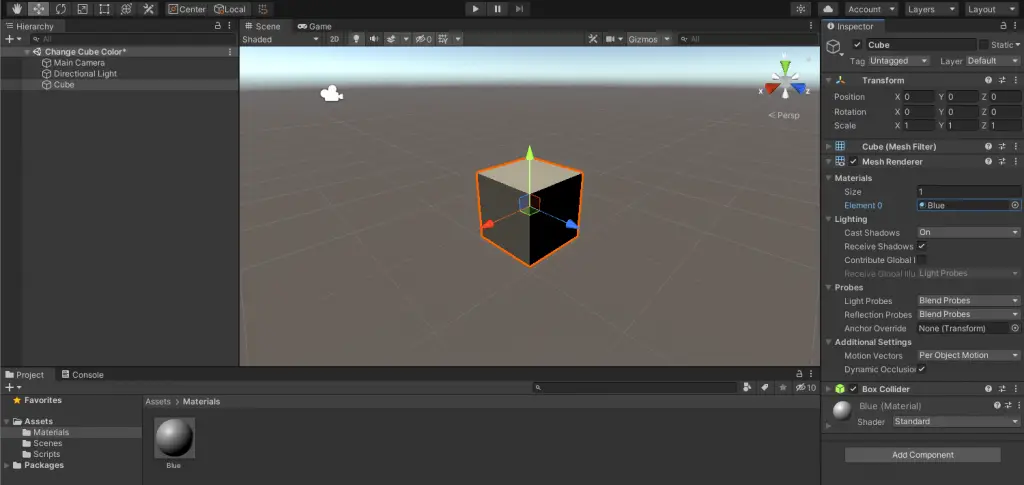
Next, select the cube inside of the Unity’s Hierarchy window. You will notice that the inspector window now lists the components that make up a cube. Expand the Mesh Renderer component. The materials property is where we will apply our material. You can have multiple materials applied to a single GameObject. If you want to add more than one material or color to your object, just increase the size field to the number you require. Drag our Blue material into the Element 0 field to apply it to our cube.
Change Cube Color in Unity’s Inspector
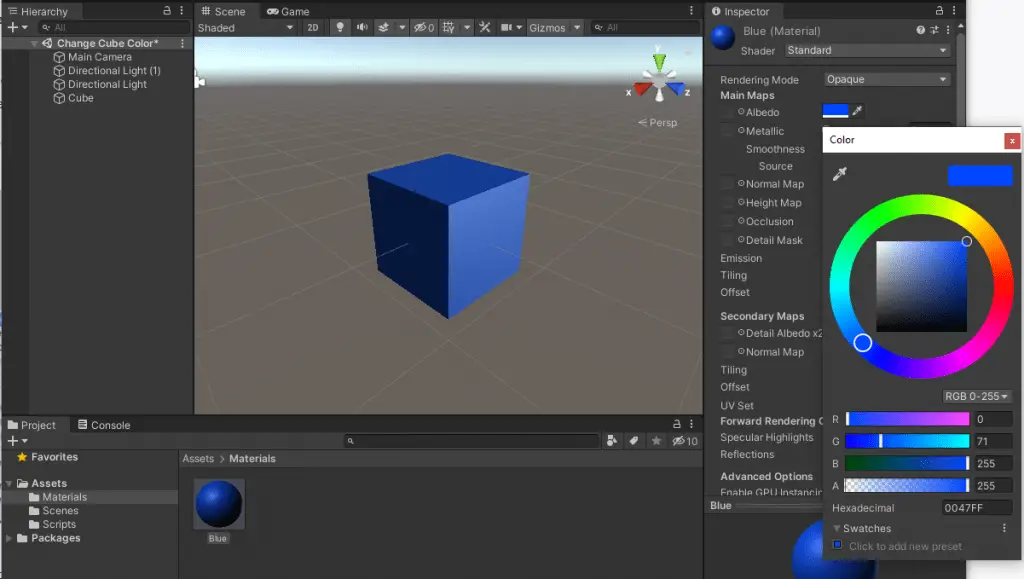
Finally, with our material applied we can now change our Cube’s color. Double click the Blue material inside of the materials folder. This will open the cube’s properties inside of Unity’s inspector window. Under Main Maps you will see a white box with an eye dropper next to it. That is the color picker. Select it to open the color window which contains a color wheel. You can set the color value by picking a color on the color wheel or by setting the RGBA color values. For more on color values and how RGBA affects color, check out our article on Unity’s Color32.
Apply Multiple Materials to Unity Objects
To add a second material or color to our Cube we must first increase the material properties size. Select the cube object and expand out the Mesh Renderer component once again. Inside of the material property set the size value to 2. Now you will see a second element called Element 1.
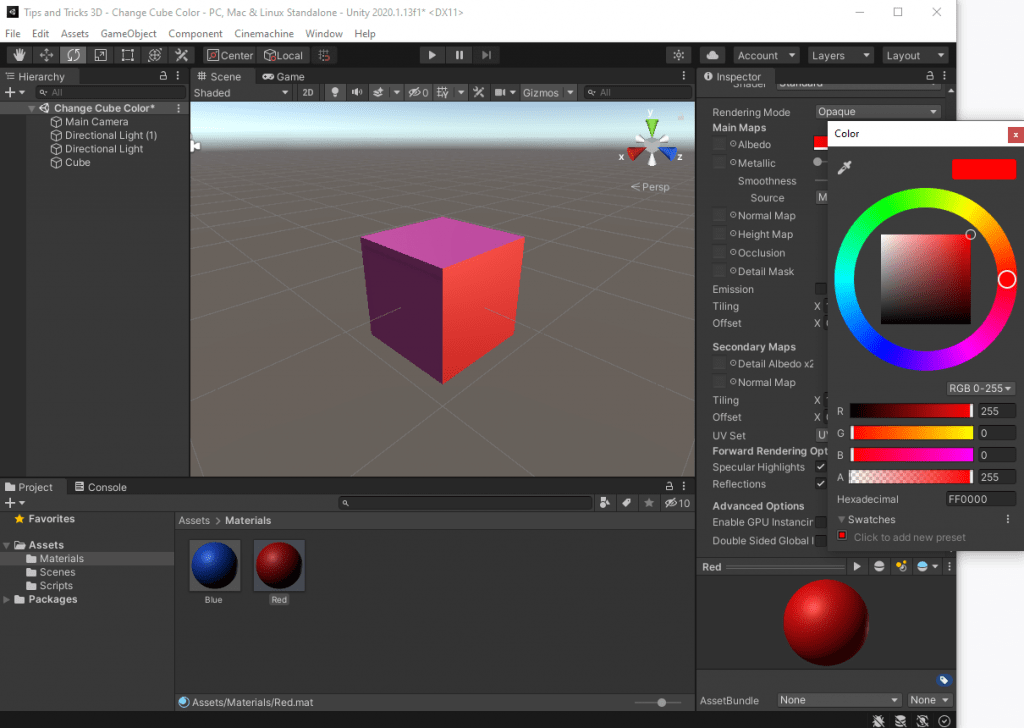
Now, create a new material the same way we created our Blue material. Name this new material Red. Drag the material into the Element 1 Field. Double click on the Red material to open it inside the inspector. Now once again select the color picker. Now select a red color. Notice how Unity has blended the cube’s two color materials and has created a purplish color. You can also continue to add materials for texture or other aesthetic properties like metallic sheen.
Reusing Materials
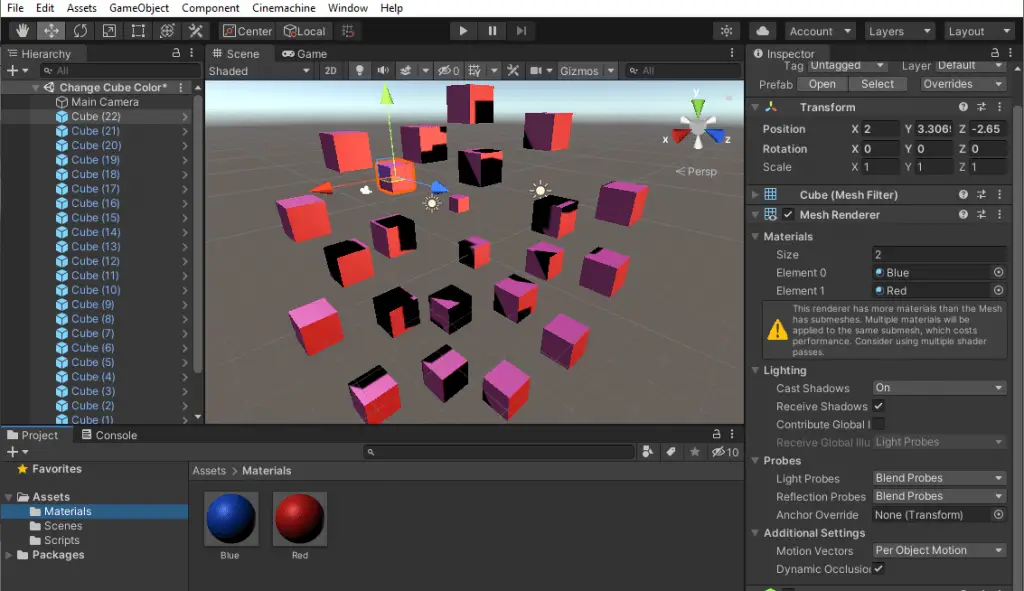
Additionally, now that you have created your materials you can reuse them to color multiple cubes or objects inside of Unity. If you wanted to create 1000 blue cubes, you would only ever need the material we created in this tutorial. This ability to reuse components is key to create streamlined games and applications that do not consume your player’s resources. It is important to note that, when you reuse a material and decide to modify it later, the changes will apply to every game object that uses that material.
And now you are ready to change the color of the default Cube and other objects within your own games made in Unity. Thank you for stopping by. Stick around and check out more of our tutorials or posts like our piece on What is a Game Developer’s Salary. Also, leave a comment telling us what you liked or didn’t like about the tutorial. Was it easy to follow along? What do you want to learn next? As always check out some of our published apps below.